If you have ever built a PC or are doing so for the first time, you must have used or are about to use Standoffs to install your motherboard.
These Motherboard Standoffs in simple words are also known as Motherboard Mounting Screws. Installation of standoffs is crucial or your PC may end up short-circuited.
There are many reasons why these are provided and if you are building a PC for the first time, it’s essential to know what they are, how to install them, and what could they lead to if you forget them.
What Are Motherboard Standoffs?
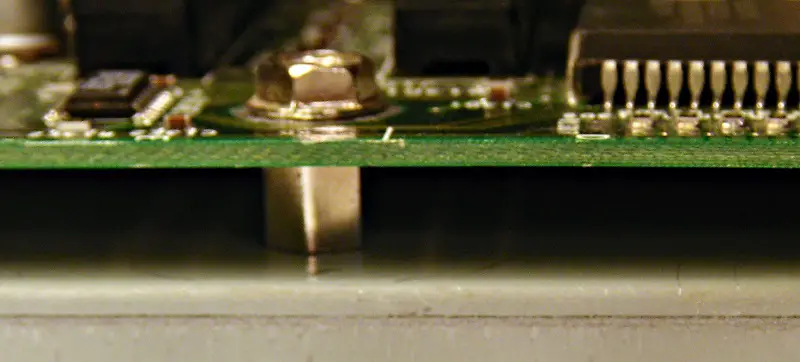
Motherboard Standoffs are hexagonal cylindrical screws that are screwed inside the PC case for motherboard installation. They are made up of Steel, Nylon, or Brass and their main purpose is to create a gap between the motherboard tray of a case and the motherboard.
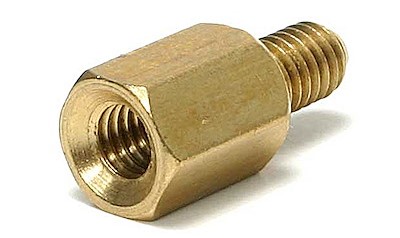
As you can see from the image above, the Stanoff is a metal part that has two parts- One is the thread that goes inside the motherboard tray hole and the other is the anchor where the screw will go.
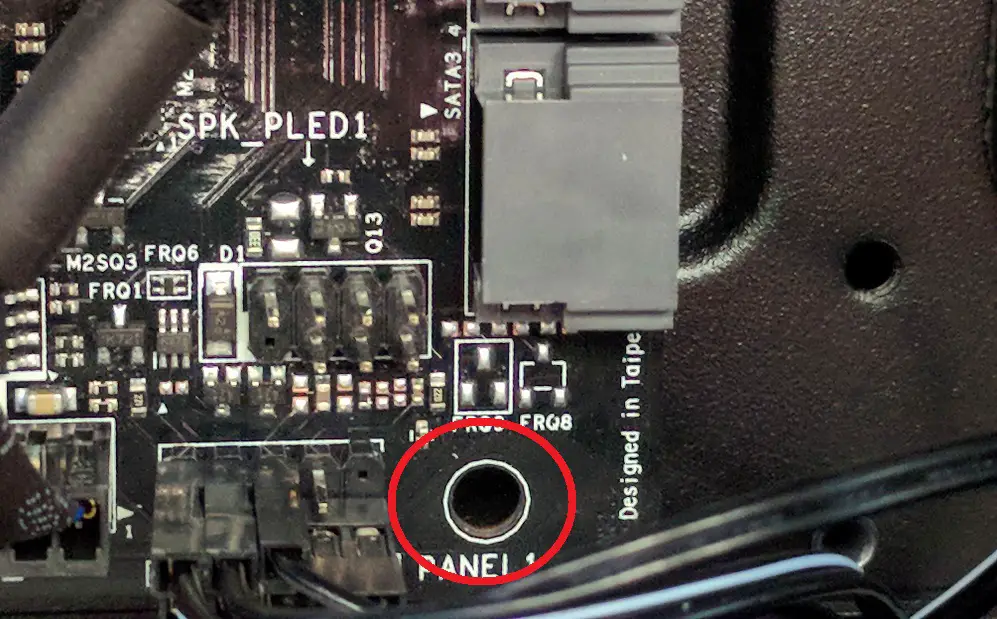
Every PC case has dedicated holes for securing these standoffs and while some cases come with pre-installed standoffs, many PC cases will require you to screw them manually. Another thing to remember is that you don’t need to buy the standoffs separately. They come with the PC case you buy but not with the motherboard as you might think.
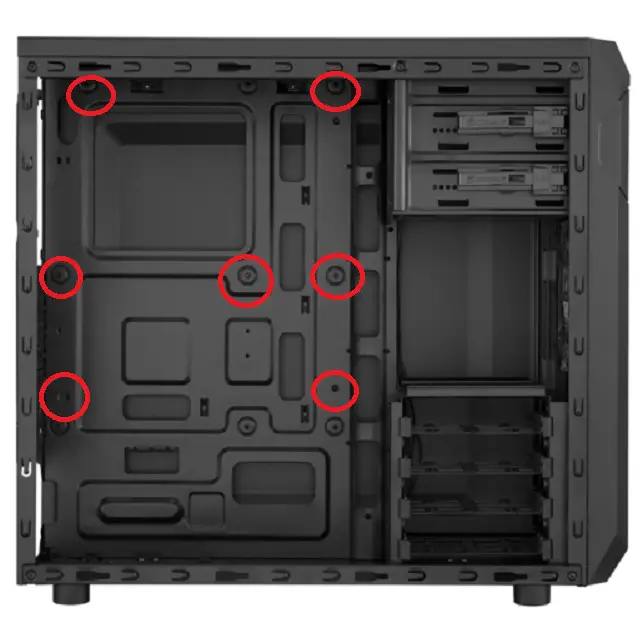
A motherboard will have several holes for securing it with screws and a user needs to align the motherboard holes to the holes of the standoff to properly put the screws inside the standoffs.
Motherboard Standoff Height
Motherboard Standoffs may have different specs but as long as they are compatible with the motherboard tray holes and mounting screws, you are good to go. The ATX 2.1 Standard states that standoff height should be at least 6.5mm but can vary and go up to 7mm.
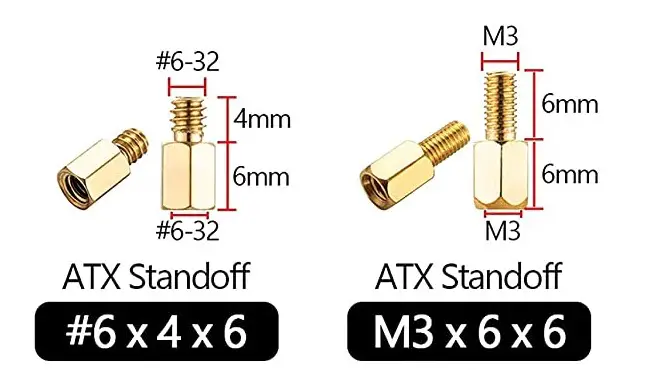
Its external diameter should be at least 5.5mm and the most common ones used are the #6-32 UNC threaded standoffs. One more common type of standoff is the ISO M3 Standard which has a longer thread screw than the #6-32 UNC standoff.
Are Motherboard Standoffs Necessary?
Motherboard Standoffs are absolutely necessary. To skip the standoff installation is to damage or kill your motherboard through a short circuit. If the user has installed the motherboard directly on the motherboard tray, many times the PC doesn’t boot because the case is made up of metal and it comes in contact with the electrical circuit of your motherboard.
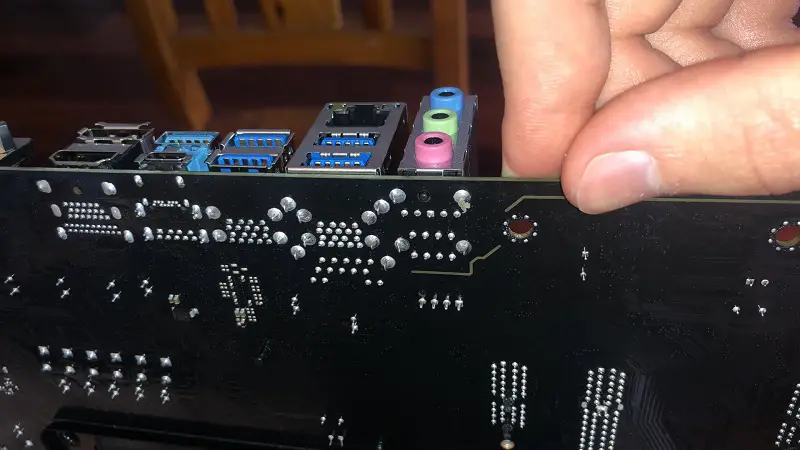
Your motherboard has electrical circuitry on both sides having multiple solder joints which although separated from each other but can be connected through the motherboard tray metal. These circuits transfer the data and carry the electric current which can damage the motherboard circuitry if two joints are shorted together.
How Many Standoffs Do You Need?
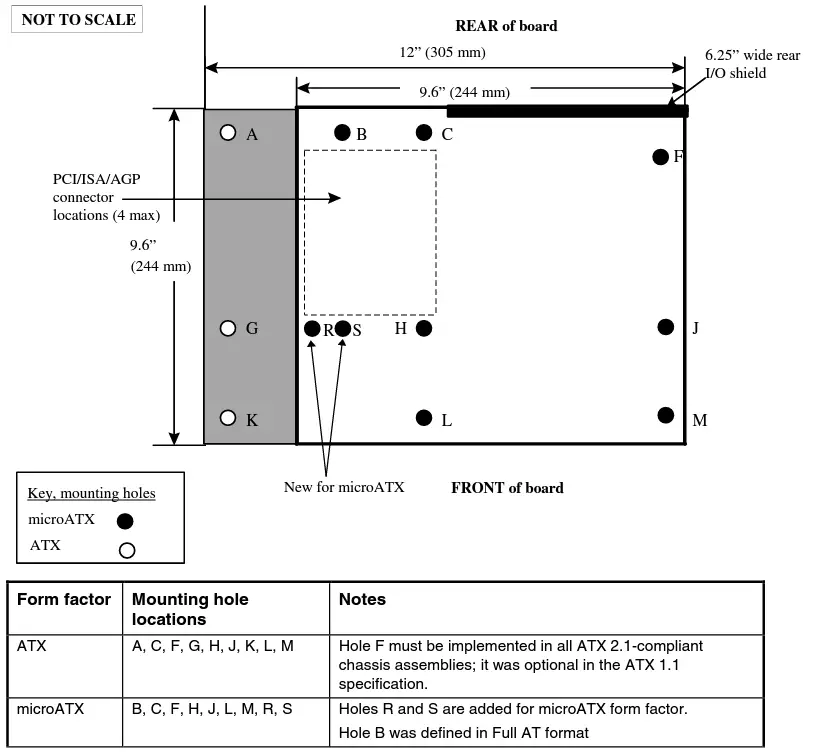
How many standoffs you need depends on your motherboard. The four most common types of motherboards are- Mini-ITX, Micro-ATX, ATX, and E-ATX. Each needs a different number of standoff screws as their sizes vary. Refer to the table below to know the number of standoffs required by each form-factor motherboard.
MOTHERBOARD TYPE | NO. OF STANDOFFS REQUIRED |
Mini-ITX | 4 |
Micro-ATX | 6-9 |
ATX | 9 |
E-ATX | 12 |
Motherboard Standoff Screwdriver
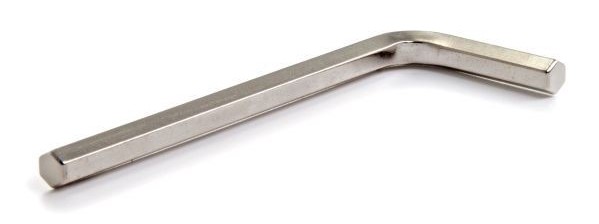
As Standoffs aren’t like regular screws, you can’t use a standard screwdriver to screw them into the tray. You can do this with only two tools- A nose plyer or a hexagon L-shaped wrench or screwdriver.
Motherboard Standoff Installation
Motherboard Standoffs installation requires a Nose Plyer or a Hexagon wrench/screwdriver. You need to put your case on its side to access the motherboard tray and according to your motherboard’s form factor, you have to screw in the standoffs one by one in the holes.
Upon installing all the standoffs, you can now align the motherboard’s holes to the standoffs and put the mounting screws to secure the motherboard. The best way is to put and tighten the mounting screws diagonally to avoid any unnecessary pressure on the motherboard’s PCB.

