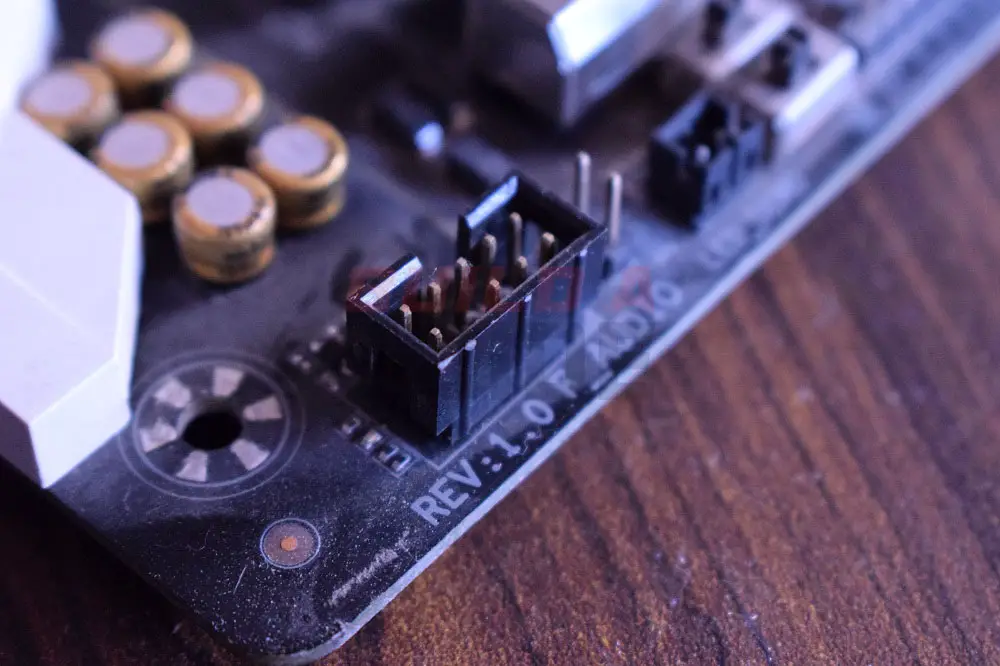
If you are getting no display on your monitor, then you might have noticed that your VGA light on the motherboard is ON. Generally, the VGA LED can be White or Red depending on the model of your motherboard.
A VGA LED being ON means that the system has not detected your graphics card .
This is because the connection between the graphics card or iGPU and the monitor is not properly established. As some motherboards come with Debug LEDs, it makes it easier to figure out the possible faulty component.
In this case, if the VGA light turns on continuously and you get no boot or display on your monitor, there are a couple of reasons why this may be happening all of a sudden.
Establish Proper Cable Connection
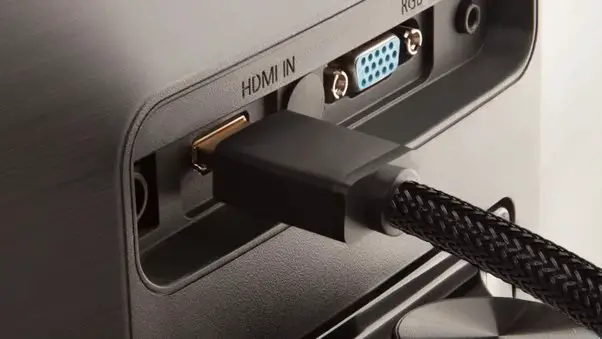
Not every time your GPU is the culprit. sometimes it happens due to the monitor.
Make sure you have properly connected the display cable from your GPU to the monitor. If the problem doesn’t resolve, then reconnect the cable by clearing out the dust from the display connectors on your GPU and monitor with an air blower.
Properly insert the cable connectors into each port and see if the VGA LED turns off.
Turn Off your Devices
Although you might have restarted your devices several times, you have to do it the right way in order to make it work.
Simply turning off and turning on the devices after a few seconds sometimes does nothing. Make sure you give the devices enough time to discharge so they can start totally fresh the next time.
-> Switch off your monitor and the computer. Remove the display cable.
-> Remove the power cords from the power outlet and let the devices sit idle for at least 5 minutes.
-> Reconnect the display cable properly and switch on your computer and monitor.
This can probably fix the issue without much effort but if it still doesn’t fix anything, then you will need to resort to other methods which are time-consuming and will require some skill.
Reinstall the Graphics Card
Sometimes the VGA LED issue happens due to improper contact between the graphics card and the PCI-E x16 slot of your motherboard.
This can happen anytime even if you didn’t touch your PC. To verify if your GPU is working perfectly fine, you need to reinstall the GPU to make a proper connection.
-> Turn off your computer and open the side panel of your PC case by removing its screws.
-> Unplug the power connectors from your GPU.
-> Remove the screws from the expansion slots.
-> Now press down the lock on the PCI-E x16 slot to unlock the graphics card.
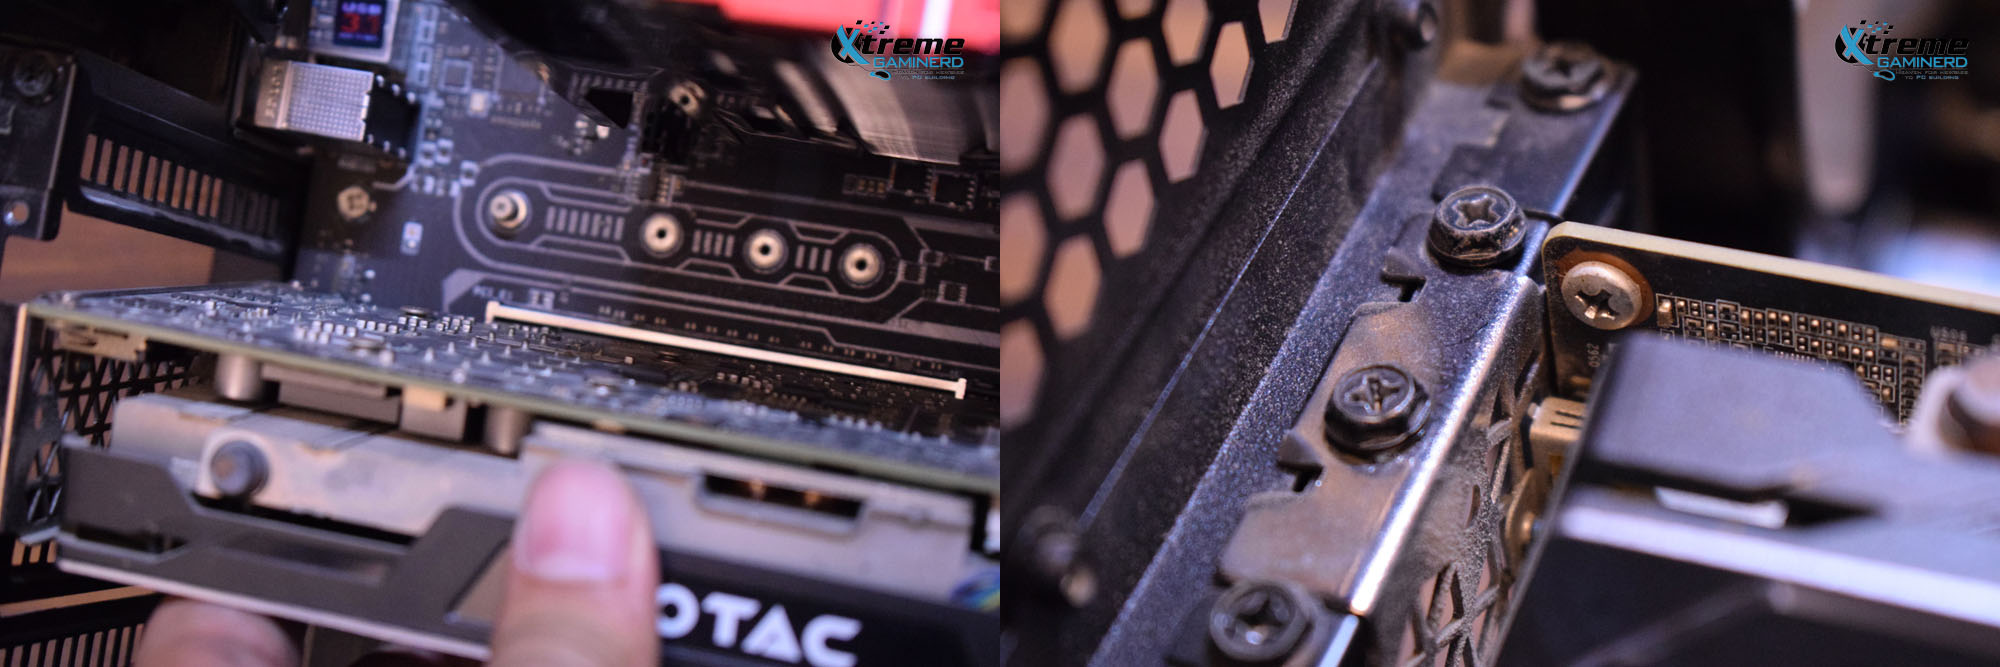
-> Remove the GPU from the slot and clean the PCI-E slot and the graphics card pins with a soft cloth and an air blower.
-> Reverse the steps for reinstalling the GPU. Make sure you have properly inserted the GPU into the PCI-E x16 slot and also the power connectors into the GPU.
Turn the system on and hopefully, this should fix the VGA LED issue.
Run the Computer without GPU
This step will confirm if your GPU is faulty or not. If your computer uses a CPU with integrated graphics, then you can easily identify the cause of the VGA light issue.
-> Simply remove the GPU from the slot as you did before.
-> Connect the display cable to any display output port of your motherboard.
If this gives you a display signal on the monitor and no VGA light, then you might need to get your GPU repaired or replaced.
Alternatively, you can cross-check with another spare GPU and see if the problem still persists.
Boot with Fewer Components
In case the VGA LED is still on even after booting the computer without the GPU i.e, with an iGPU, it’s time to inspect everything one by one.
You can do this by removing all the devices and peripherals plugged into your computer.
-> Disconnect all the PC components from your motherboard except for the CPU, CPU cooler, and RAM. Make sure you also remove the SATA cables and PCI-E cables from your graphics card too.
-> Remove all the peripherals connected to your computer like keyboard, mouse, headset, etc.,
-> Switch on the computer and the monitor.
If the VGA LED doesn’t turn on, then you can reconnect everything one by one to identify the cause of this problem.
Update the BIOS
Sometimes an outdated BIOS can also cause this issue. Almost every motherboard manufacturer releases new BIOS updates on their official website through which you can update your BIOS. This can be done through a USB drive containing the latest BIOS file.
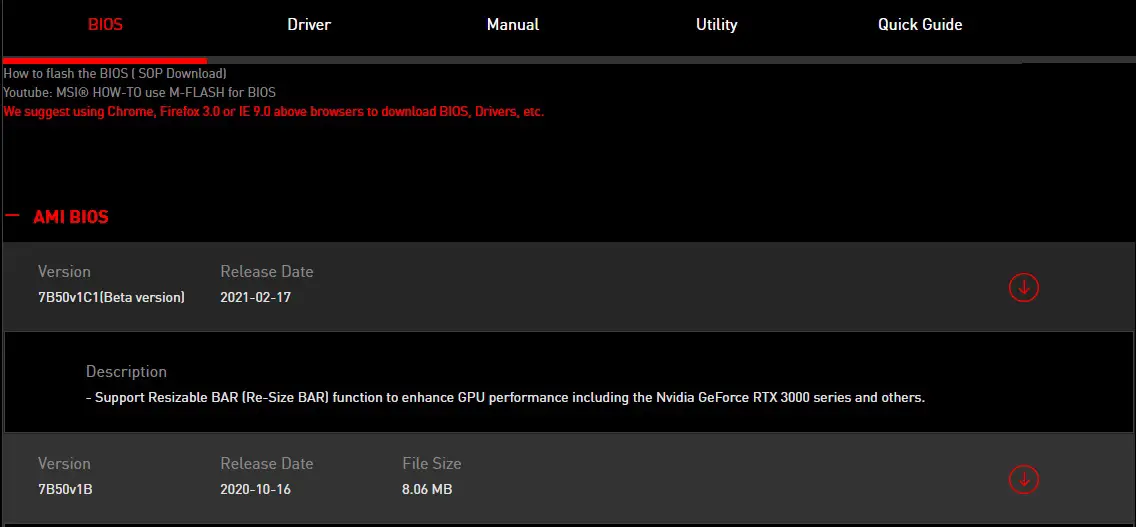
-> Go to the motherboard product page on the official manufacturer’s website.
-> Head to the support section and download the latest BIOS file.
-> Copy the file to a USB drive and install the latest BIOS through your manufacturer’s BIOS updating app.
The installation method can be different and varies from motherboard to motherboard. You can follow Techadvisor’s guide on how to update your BIOS.
Reset the BIOS
Even if updating the BIOS doesn’t solve the problem, you should reset your BIOS to the default. This will be an easier task and most likely will sort out the problem if none of the above methods worked for you.
Resetting the BIOS will restore the original BIOS file and can be done from your motherboard’s BIOS settings or by the CMOS battery.
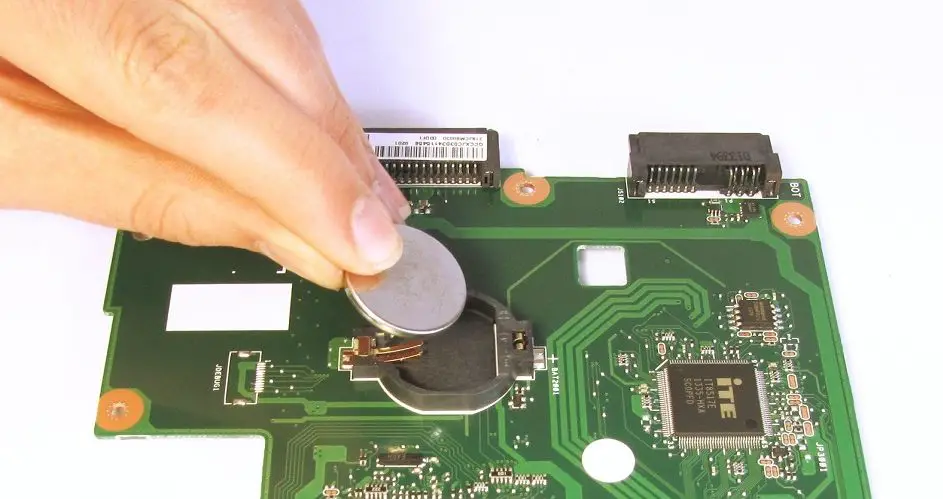
If you want to do it quickly, follow these instructions-
-> Switch off your computer and remove the side panel.
-> Locate the CMOS battery(it is different from the BIOS chip), and remove the battery from the socket for at least a few minutes.
This will reset the BIOS settings and restore the defaults.
Final Words
Almost every VGA light issue can be fixed with the methods stated above. However, in case of a faulty GPU, you will need to replace it with a newer one.
Let us know if this sorted out your problem and which method worked for you in the polls below.
[poll id=”3″]Related:
