It’s frustrating to see your PC restart just after you press the power button. Or if your PC doesn’t start at all, then you might have a short-circuited motherboard. A short circuit happens whenever a positive and negative terminal in the circuit get connected through some means.
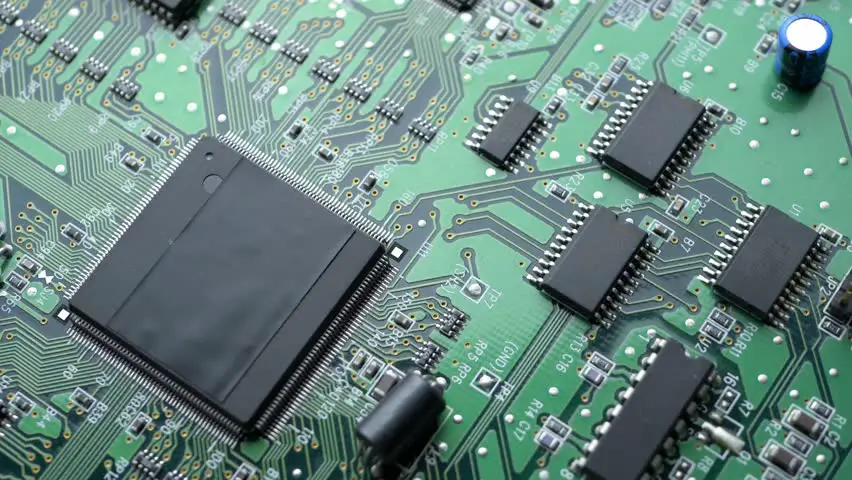
A motherboard hosts so many circuits embedded in the PCB that send and receive data signals and if a circuit gets interrupted due to shorting, then your motherboard will stop functioning.
This problem can occur anytime and may or may not be due to manual actions. To solve shorting problem, you first need to figure out what is causing it. There are a lot of reasons that can lead to a short motherboard and it can have some of the following effects:-
- PC restarting
- PC not turning on at all
- Sudden power off
The first problem is the most common one. It will cause your PC to start for a moment and you will see your system fans spinning and stopping suddenly. The same thing will repeatedly happen again.
Sometimes if a user plugs in or plugs out a connector from the motherboard while the system is on, it can also lead to a short motherboard. To avoid this, it’s strictly recommended to not touch the cable connections while your computer is powered on.
Now coming to the solutions, you should start with the following basic methods before sending your motherboard to a repair center.
Reseat RAM modules
Start with re-installing the RAM sticks. Most of the time it is the incorrect installation of memory sticks that leads to shorting.
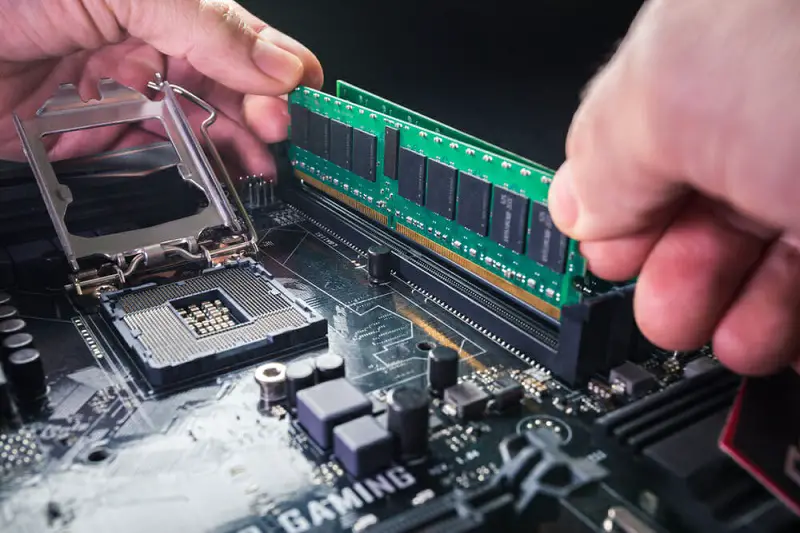
It’s always recommended to clean the RAM stick pins with an eraser and the DIMM slots with paper before installing the RAM again. You should also change the DIMM slots to see if this helps.
If you have multiple RAM sticks installed, then you should try with one stick only and change the slot if the problem still persists. Make sure you insert the stick properly by putting some good pressure.
Re-install other components
Another reason for shorting can be the incorrect connection between the motherboard and components. Re-installing your graphics card, storage drive and other such devices can sort out the problem.
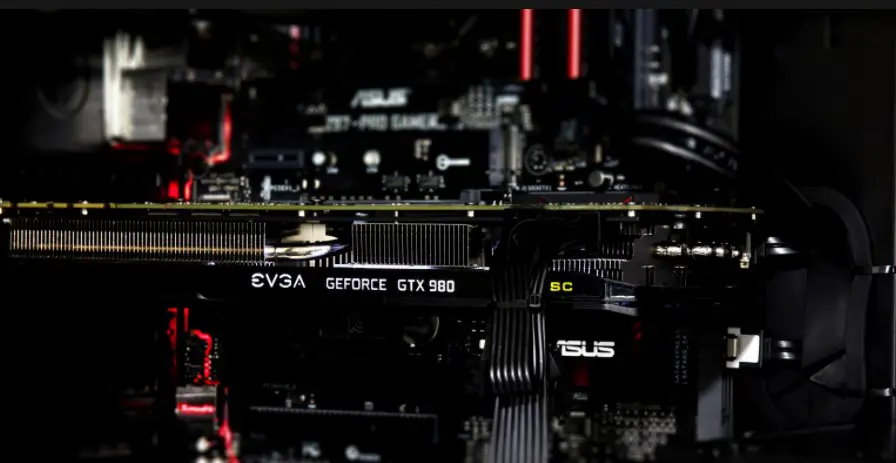
It’s best to check by removing all the components except CPU and RAM(after you have tested RAM modules)and then install other components one by one.
Reseat motherboard
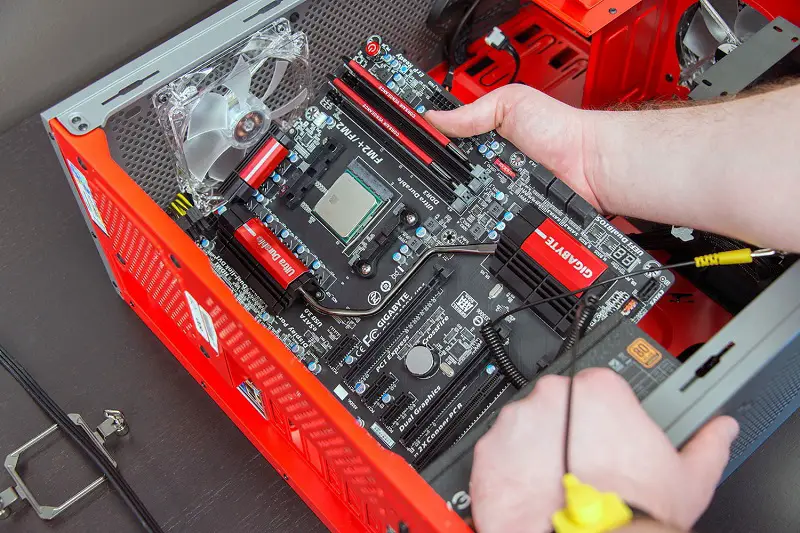
Most of the time when I encountered a PC restarting problem, it was due to the improper motherboard contact to the motherboard plate on the case. This is very common and can be easily sorted out by taking out the motherboard and properly securing the standoff screws.
Clean off the dust
Too much debris on the motherboard can be a culprit. If you haven’t cleaned off your motherboard in a while, then you should use an air blower and an electronics brush to clean off the stubborn dust from every area on the PCB.
Check with a voltmeter
If nothing of the above method works, then you can verify if your motherboard is really short from the PCB itself. To test your motherboard you will need a voltmeter.
You should first set it to Continuity mode and test the EPS 4-pin connector as shown in the image below.
Your EPS power cable connector has 4 wires- 2 Black and 2 Yellow. Here Yellow wires are live and Black wires are grounded. If you insert the Black and Red cable pins from the voltmeter in both the 12V connectors pins where the Yellow wires go, then you should hear the beep. The same goes for both the ground pins where Black wires go.
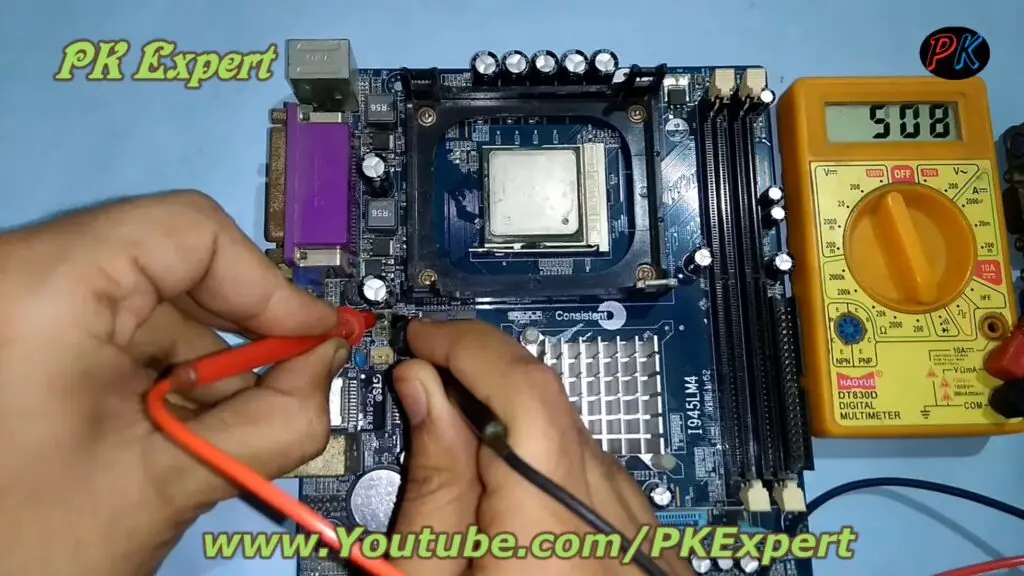
Now check by inserting the voltmeter pins in one Yellow and one Black wire pin in the 4-pin connector. Do for both the pairs. If you hear the beep, then your motherboard is short-circuited otherwise your voltmeter should display a reading above 200.
If you hear the beep, then most likely shorting is in the VRM section where you can individually check the components for the short but to fix it, you will need a chip-level expert who can replace the components.
