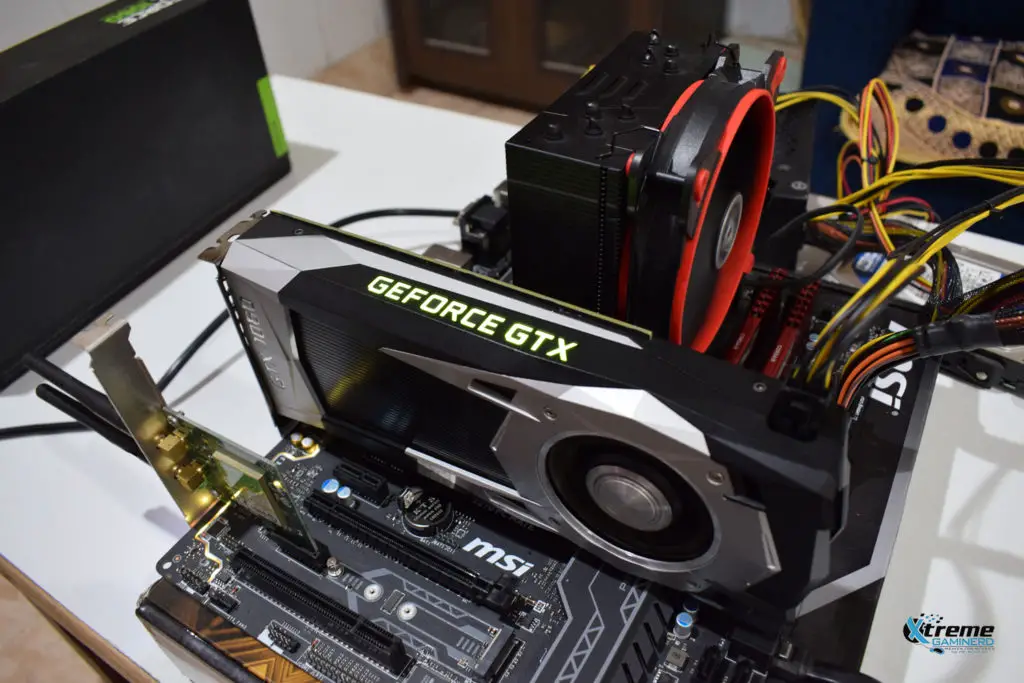
Owning a graphics card is nothing less than feeling blessed. Without a decent GPU, smooth gaming is impossible and if you have got a new one, then you might be interested in knowing the potential of your graphics card without taking much risk.
I have created this guide for gamers who are beginners in the field of computer hardware and don’t know much about using their graphics cards to their full potential. I will guide you on how you can test your graphics card without taking any risks and without going too far. But still, use this guide at your own risk.
If you do it properly then you will learn something new and won’t be disappointed by the performance of your graphics card. Also, whenever you will face any performance issue, you can benefit from these methods and know by certainty if your graphics card is running fine or not.
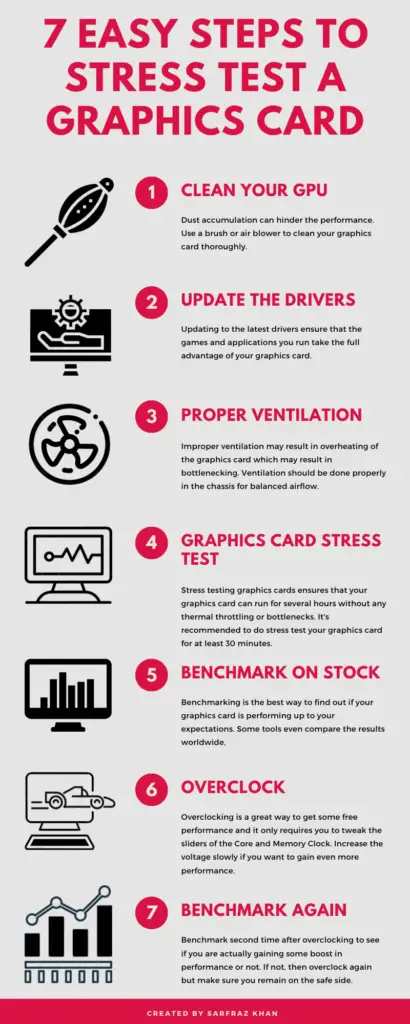
Step 1- Clean your Graphics card
Before you stress test your graphics card, it’s best to clean it with the help of an air blower which will remove excess dust from its heatsink that can put a hindrance to the performance. You can either use a non-electric hand-held dust blower or you can use an electric air blower which is way more powerful and effective in removing the dust. I personally use the electric one as it can clean your whole PC without any hard work.
After cleaning the excess dust, you can use a soft brush to clean the PCB of your graphics card if it doesn’t have any Backplate. This will make it look nicer and will remove the stubborn dirt that is difficult to remove by an air blower.
Step 2- Update the drivers
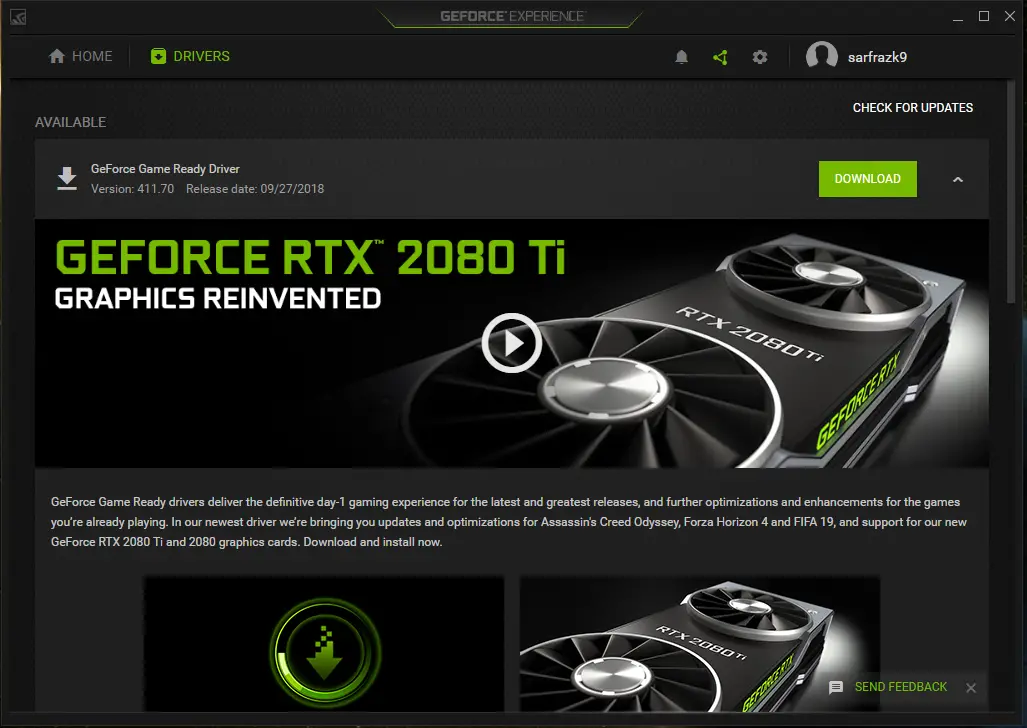
Not updating the drivers will lead to different results. Manufacturers like AMD and Nvidia from time to time release new drivers to make the performance of GPUs bug-free and better. Update the drivers through the installed GPU software or through the websites to make sure that your GPU performs the best.
Related- 15 Best Software For A Newly Built PC
Step #3:- Make proper ventilation
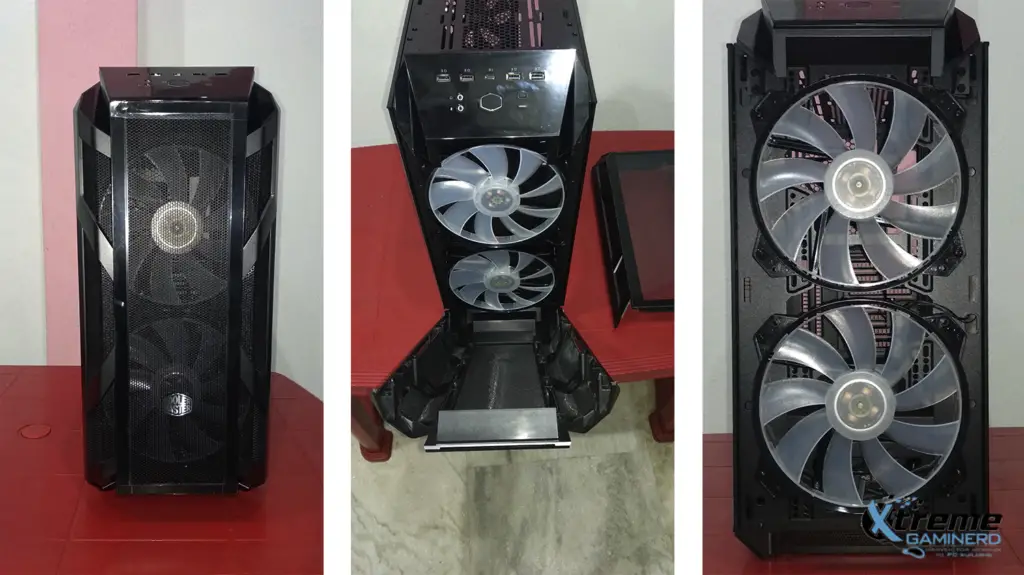
This one is a not-to-ignore step because suffocation will lead to GPU failure and it will increase the temperature of your graphics card much faster than you would expect. You don’t want your GPU to slow down when you are gaming. Make sure you have a good chassis that properly exhaust hot air through the rear and top and at the same time intakes cool air from the front to make a balanced airflow system.
Step 4- Graphics Card Stress Test
There are a lot of GPU stress test software online but you can do the job with just 2 of them to make sure your GPU is performing well.
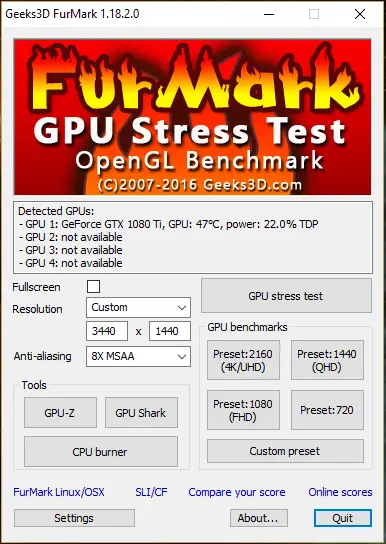
For the Stress Test, use HeavyLoad and FurMark. Both of them are good software for taking your graphics card to its max potential. Although, FurMark is much more intensive and you should not use it if you think your PC case isn’t allowing enough airflow. You can choose the graphics settings in FurMark accordingly and run the GPU until your GPU has not exceeded 85C. After this value, I don’t recommend going on with this test. Note down how much time it took to reach there. In games, however, the temperature won’t rise so fast and to this value.
Step 5- Benchmark
Benchmark can be done in two different ways:-
- 1. By the use of software
- 2. By playing intensive graphical games.
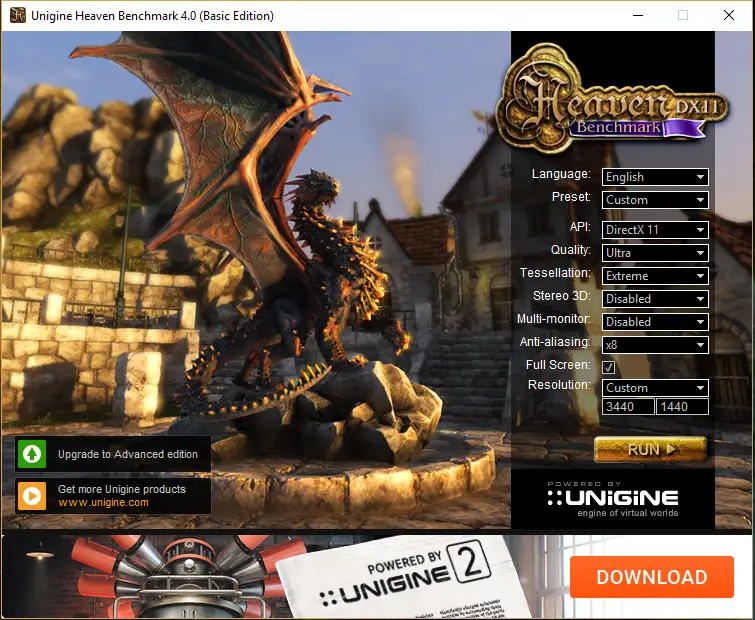
For benchmarking by the software, install Unigine Heaven. This will test your graphics card for a couple of minutes and will display the Average Frames Per Second on the chosen graphical settings.
Related- Best GPU Benchmarking Software
Next are the Games:- I recommend going with the GPU-intensive games which are mostly AAA titles like The Witcher 3, DOOM Eternal, Shadow of the Tomb Raider, GTA V, and many of the latest games.
Step 6- Overclock
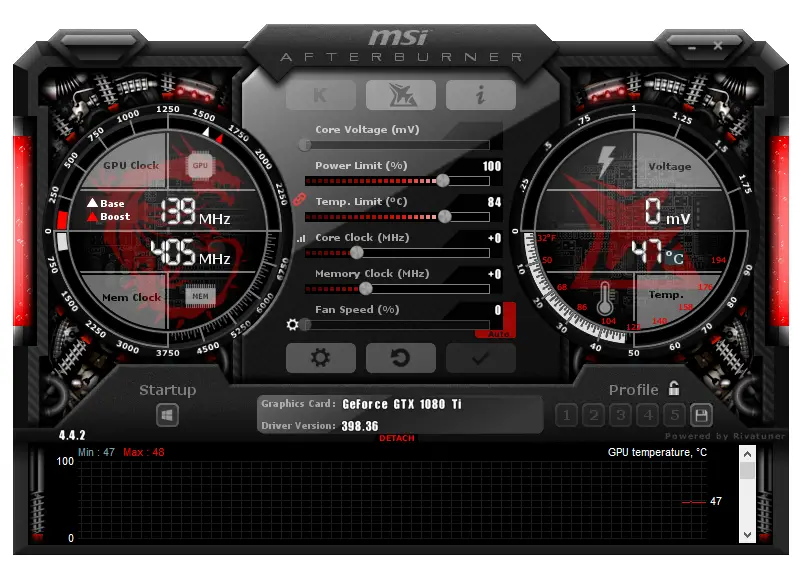
Here comes the real thing which many don’t know how to do. Overclocking requires some skill and you don’t want to mess up with it or your GPU may get some serious unrepairable damage. Use the MSI Afterburner software to increase the Core Clock and Memory clock either by +20Mhz or by +50Mhz at max. After increasing these clocks the first time, stress test again and see if everything is stable or not.
Once, the GPU passes the first stress test, increase the clocks again, and repeat until your GPU fails in the stress test. Don’t worry, your GPU will be totally safe because graphics cards are designed to protect themselves against physical damage unless you increase the Core Voltage manually.
When your graphics card reaches its max potential, simply stick to that and don’t go for the Voltage increase as it can shorten the lifespan of your graphics card and you shouldn’t be pushing it beyond its limits. You should also use the MSI Afterburner fan speed curve for cooler operation.
Related- How To Use MSI Afterburner- A To Z Guide
Step 7- Benchmark Again
After successful overclocking, benchmark again with the software and games to compare the performance differences between the results obtained without overclocking and with overclocking. By the end of this process, you should become aware of the full potential of your graphics card and it will make it easy for you to observe any bottlenecking or performance issues in the near future.
Graphics Card Test Online
Fortunately, we today have a lot of online programs and tools where you can compare the results of your graphics card with people around the world. As testing graphics cards offline doesn’t let you know if your graphics card is really performing up to the mark, you should also use at least one online tool to know if your graphics card is working well or not.
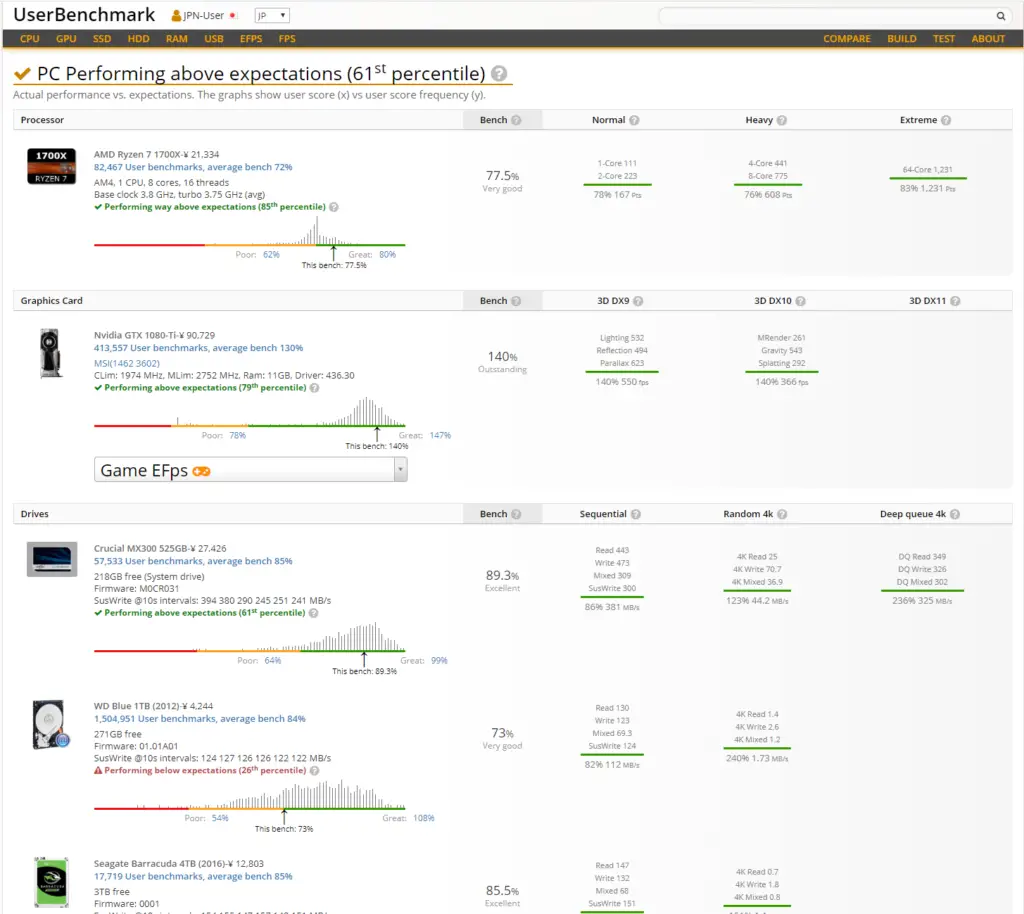
UserBenchmark is my favorite Online Test Tool that stores worldwide testing results and it’s very unlikely that you won’t find another user on the planet using similar specs or at least the same GPU you are using. It will automatically fetch your PC hardware data and benchmark it.
A Quick Overview
