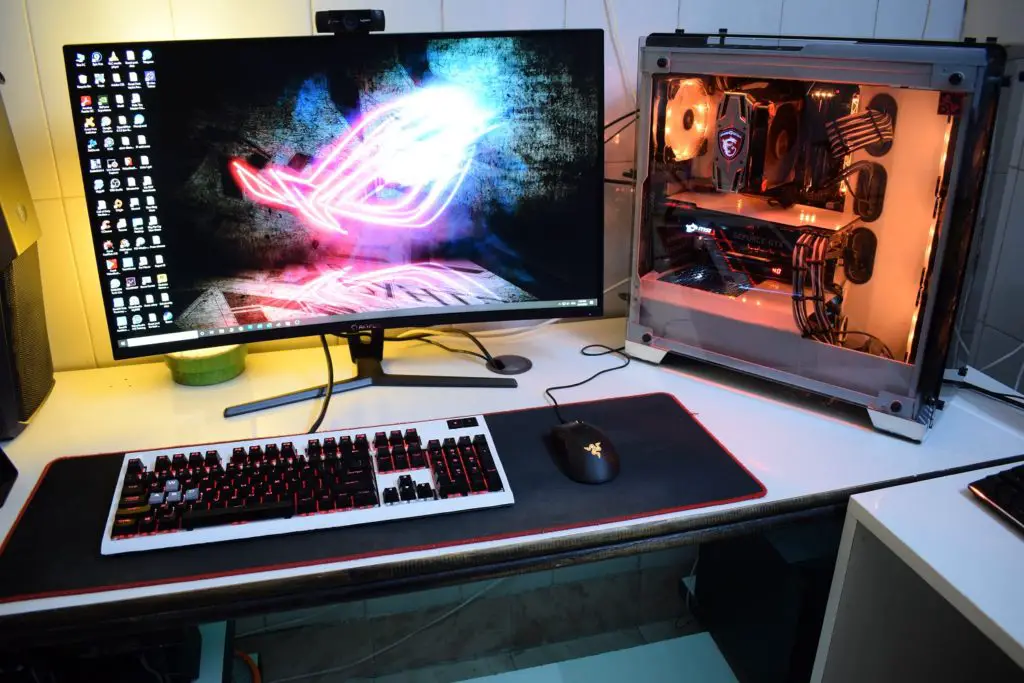
A few days ago, I modded my PC case. It was a simple white mod that I wanted for a long time. So, I used white spray paint to change some of the sections of my case. Similarly, I thought to change the color theme of my keyboard which has an all-black color theme that doesn’t fit my setup color theme.
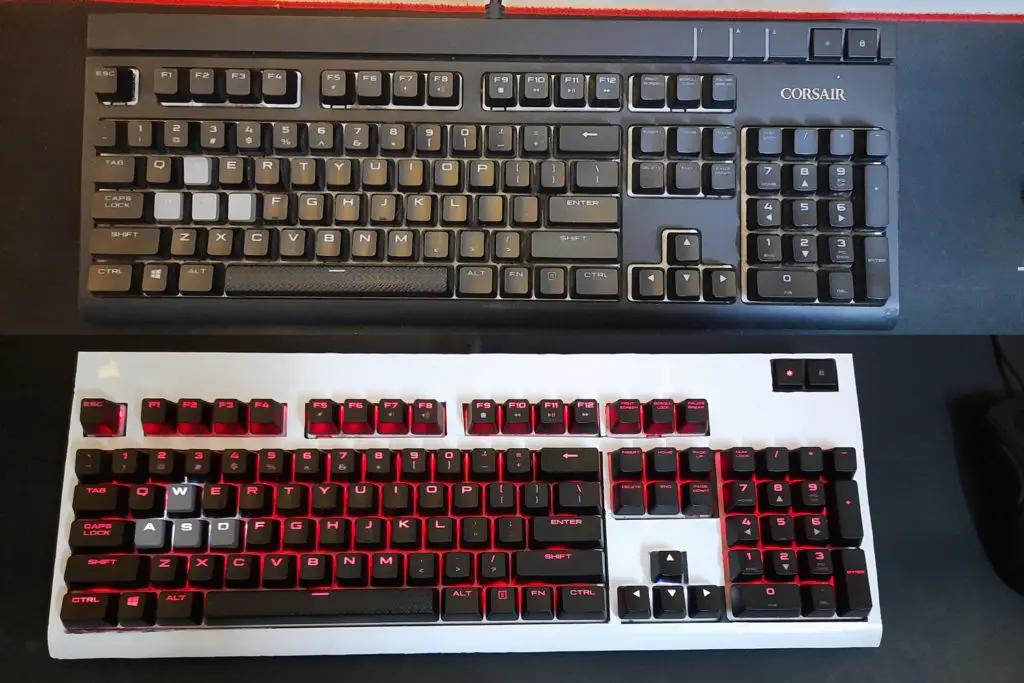
My keyboard is Corsair Strafe RGB and all I wanted to do is change my keyboard color from black to white keeping the keycaps black for a white/black color theme.
The painting was surely a better way but it would take much more time to dry and I also didn’t want to take risk of snapping the plastic cover of the keyboard. So, I decided to use a white vinyl sheet which I also used in the interior of my PC case.
Here is a small step-by-step method of how you can do this simple mod of your keyboard with any colored vinyl sheet you like.
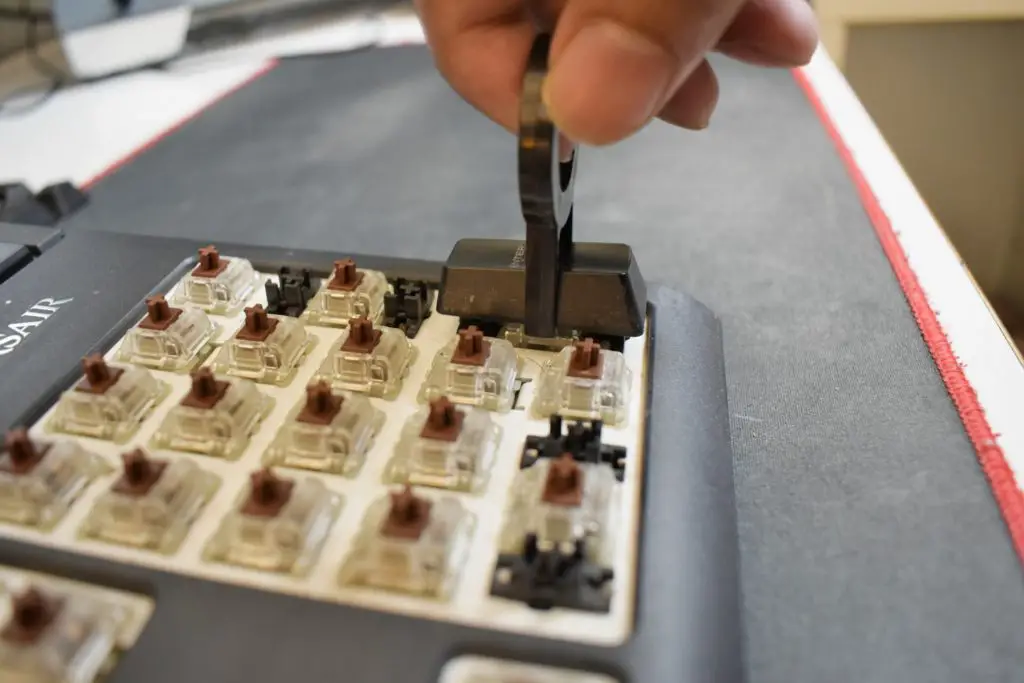
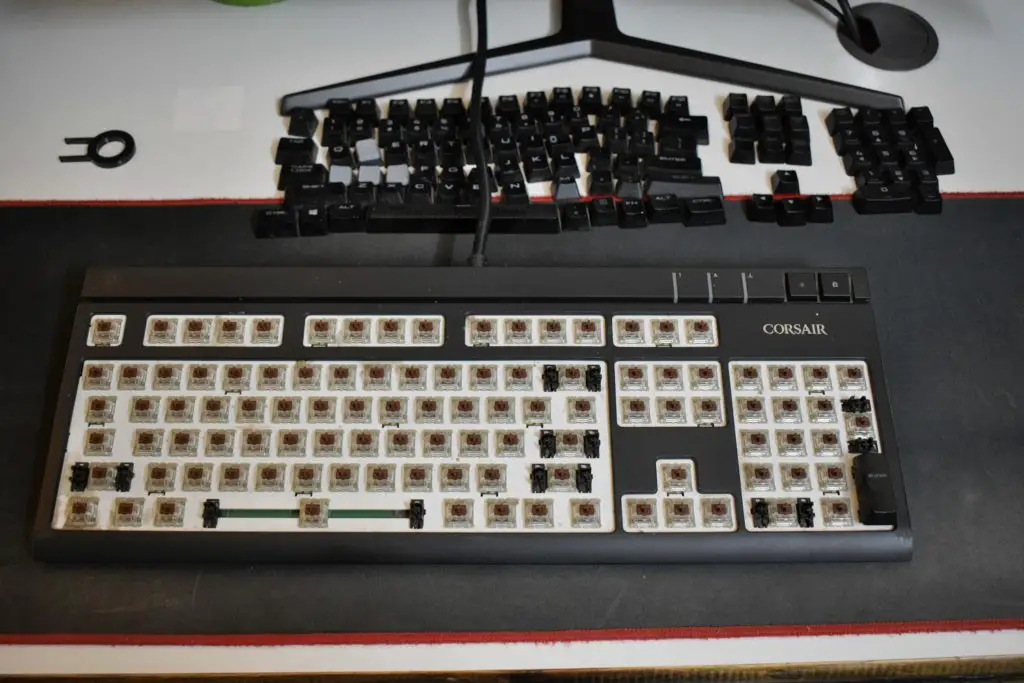
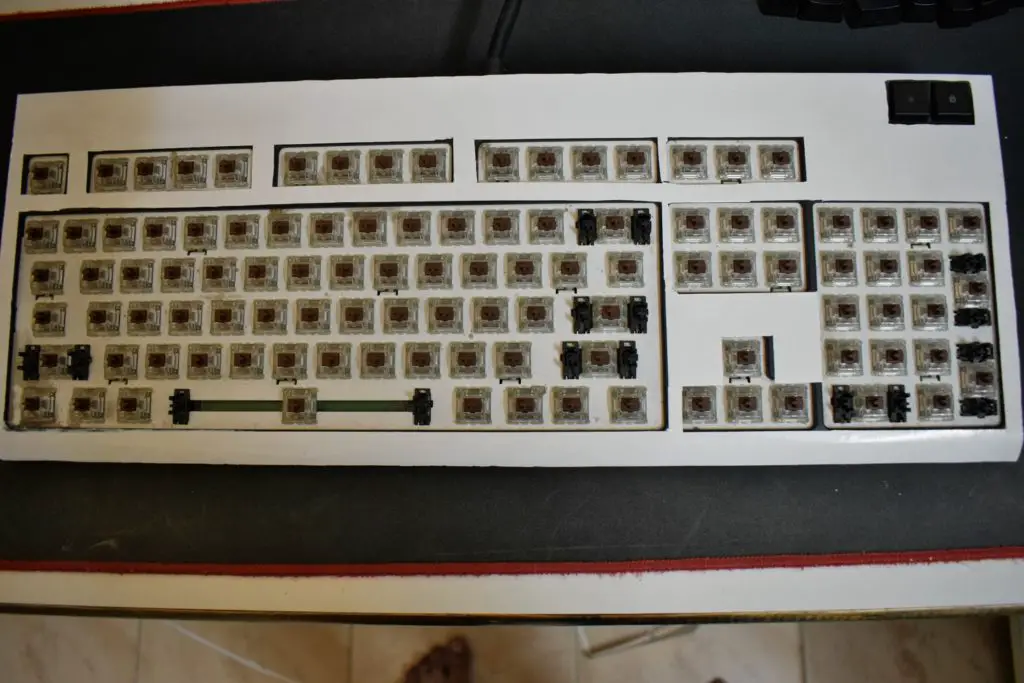
Take out all the keycaps
This is the first step and because without removing the keycaps it will be very frustrating to paste the sheet, it’s better to remove any obstacle in the process. But make sure you either take a photograph of your keyboard keys’ layout or arrange them in a similar manner on your desk when you remove your keycaps.
Clean
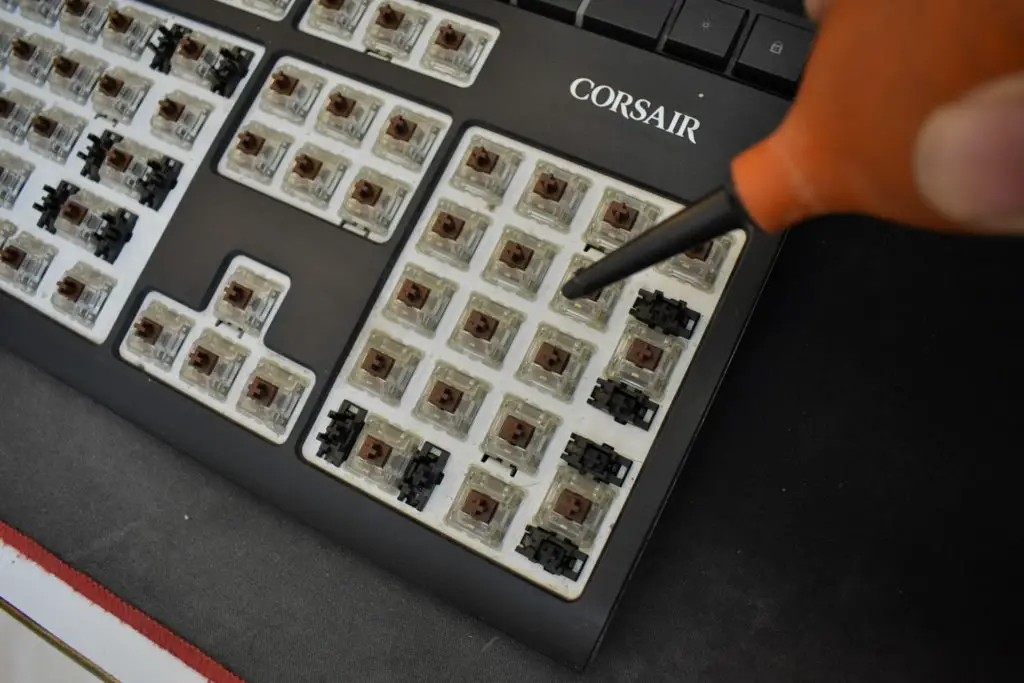
We hardly clean our keyboards and I didn’t remember if I cleaned mine for 2 years by removing the keycaps. So, after removing the keycaps, use a simple air blower and take a clean cloth to clean every part of your keyboard including the frame on which you want to stick the vinyl sheet.
Take outer measurement
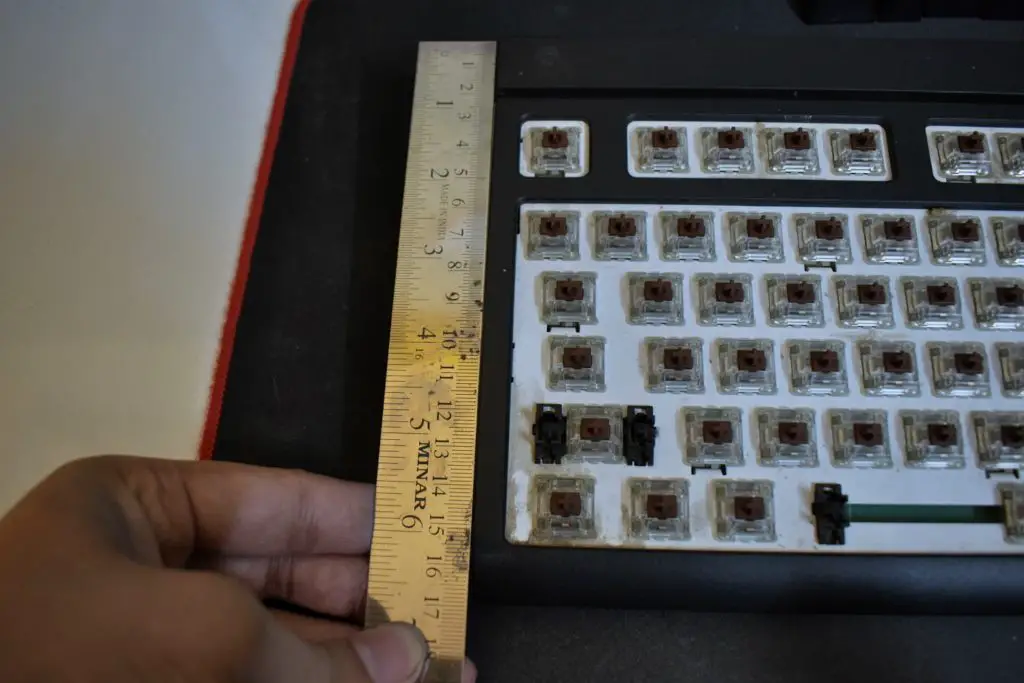
Before you cut out a big piece of vinyl sheet, take a measurement of your keyboard. Measure the width and length and cutout at least 1cm longer piece than the dimensions of your keyboard
Taker inner measurement
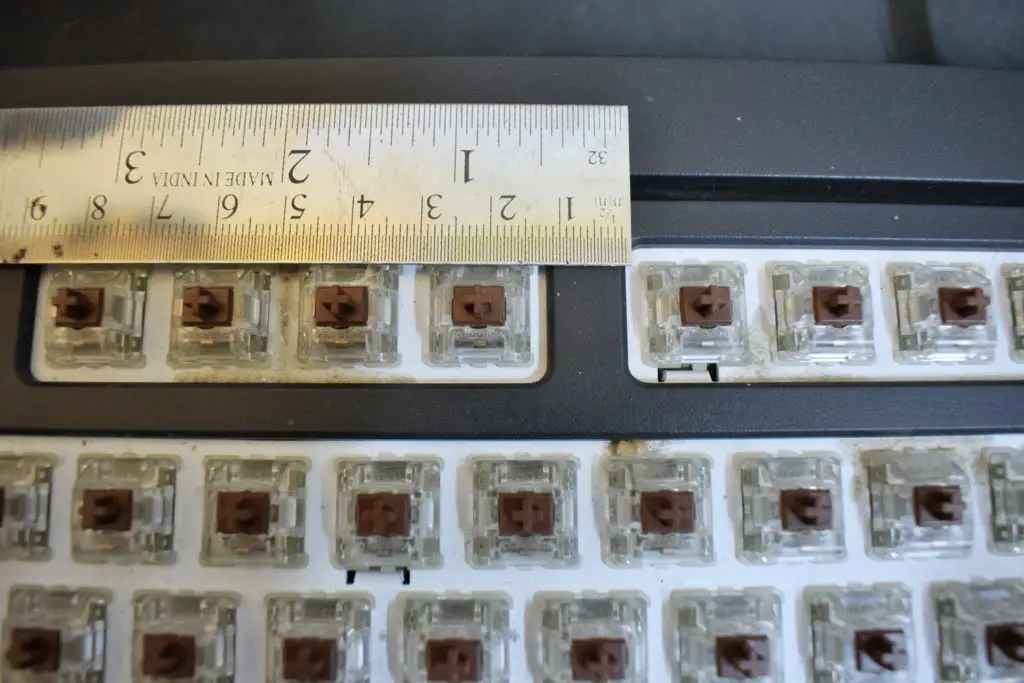
It’s important to know the exact details of the key layout. You should measure the distances between the keys and their sections. Take the measurement from all the sides towards your keys to know how much area should be cut out.
Draw key layout
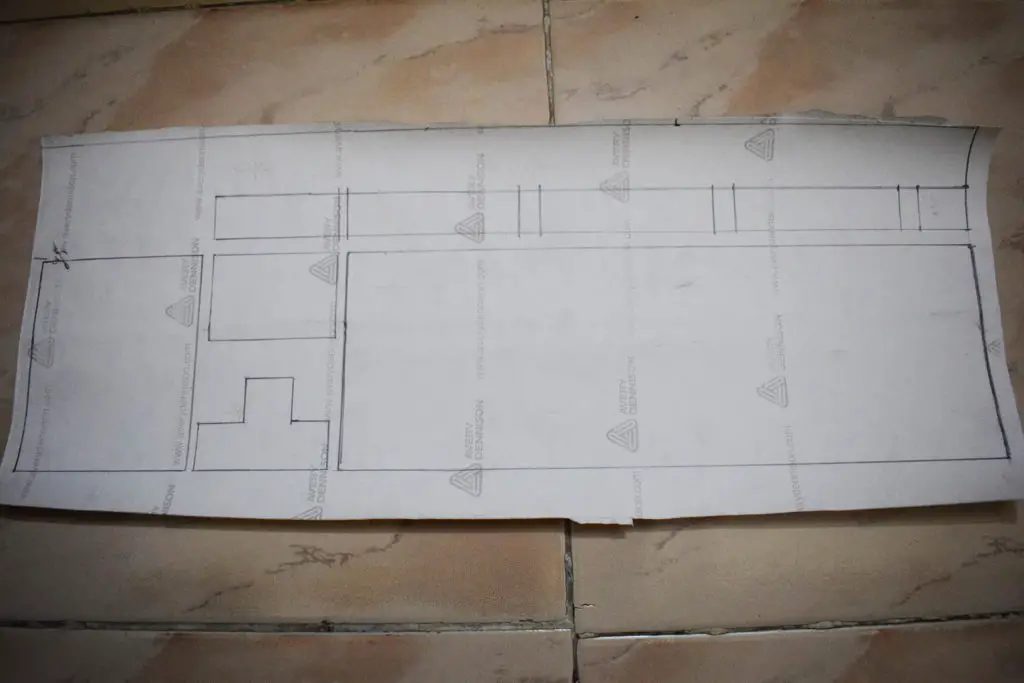
Before cutting out the insides of your vinyl sheet, draw an exact key layout on your sheet with a pencil at the backside. Try to measure as accurately as you can because even one mm or two can ruin the whole process. Always make sure that you take one mm more than what you think is needed as the extra sheet can be cut out.
Cut out sheet using a pen knife
A pen or surgical knife is very sharp and accurate in cutting paper. Use a ruler to avoid any inaccuracies and cut two or three times at a particular area to make sure the vinyl sticking sheet is cut along with the protective sheet.
Paste on the frame
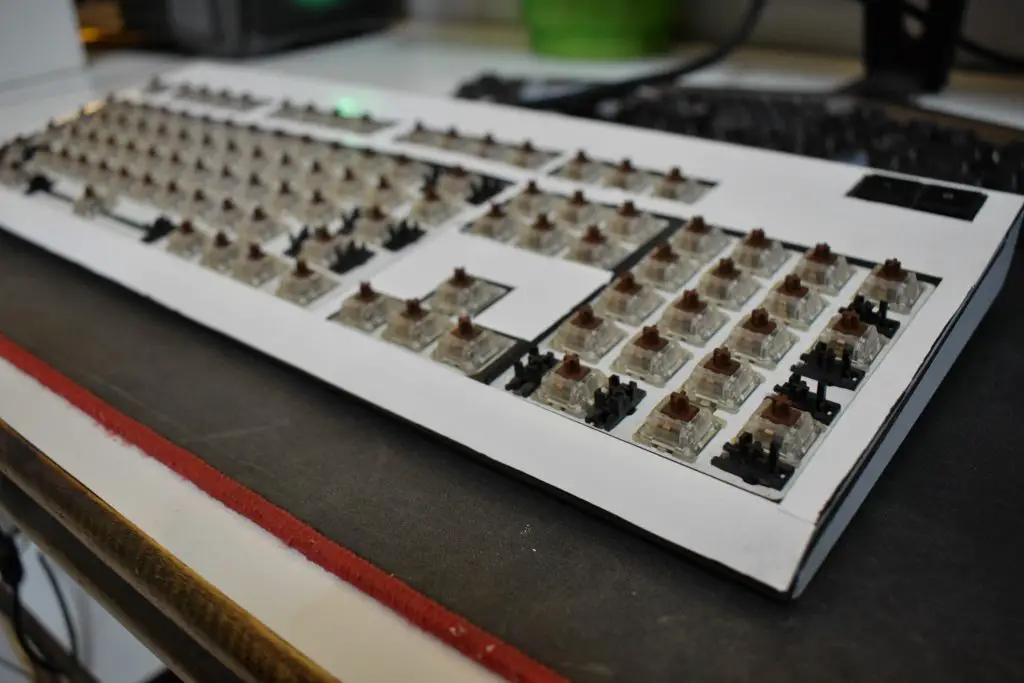
Do not remove the protective sheet completely but remove it gradually from one side when you start sticking the vinyl sheet. Use your fingers to remove any air for a firm fix.
Cut out the extras
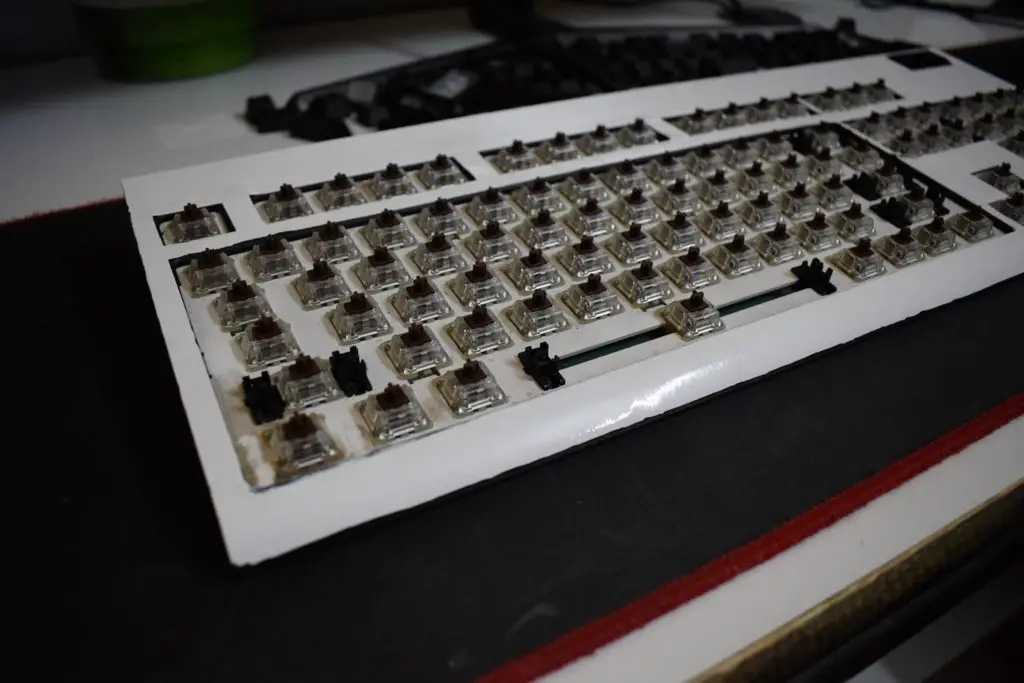
Use the same pen knife and cut out the extra sheet that is not needed.
Put back the keycaps
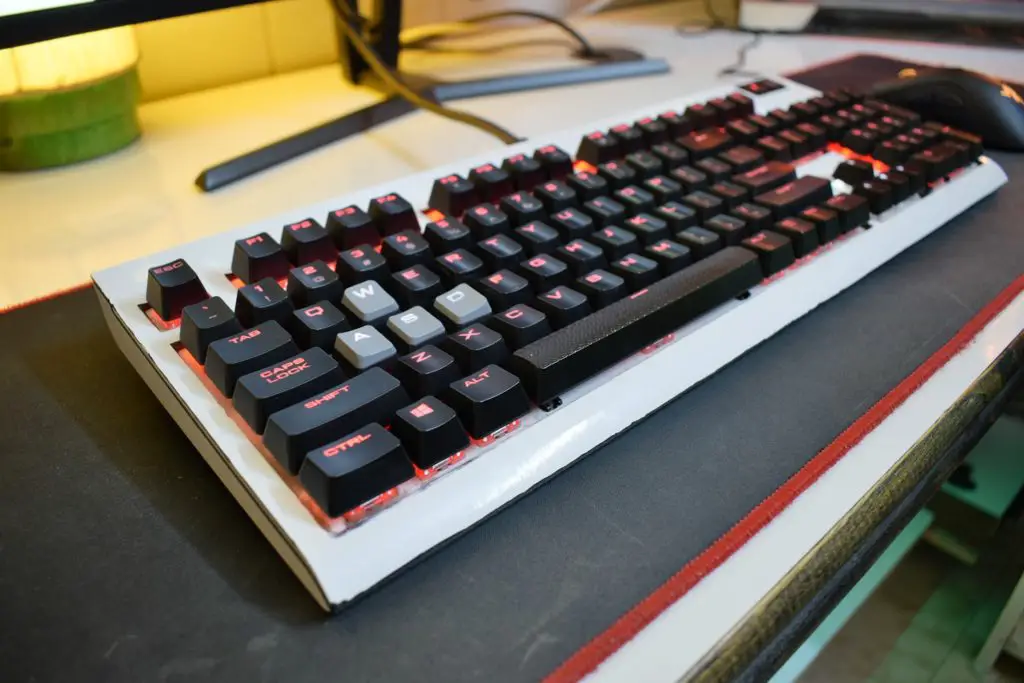
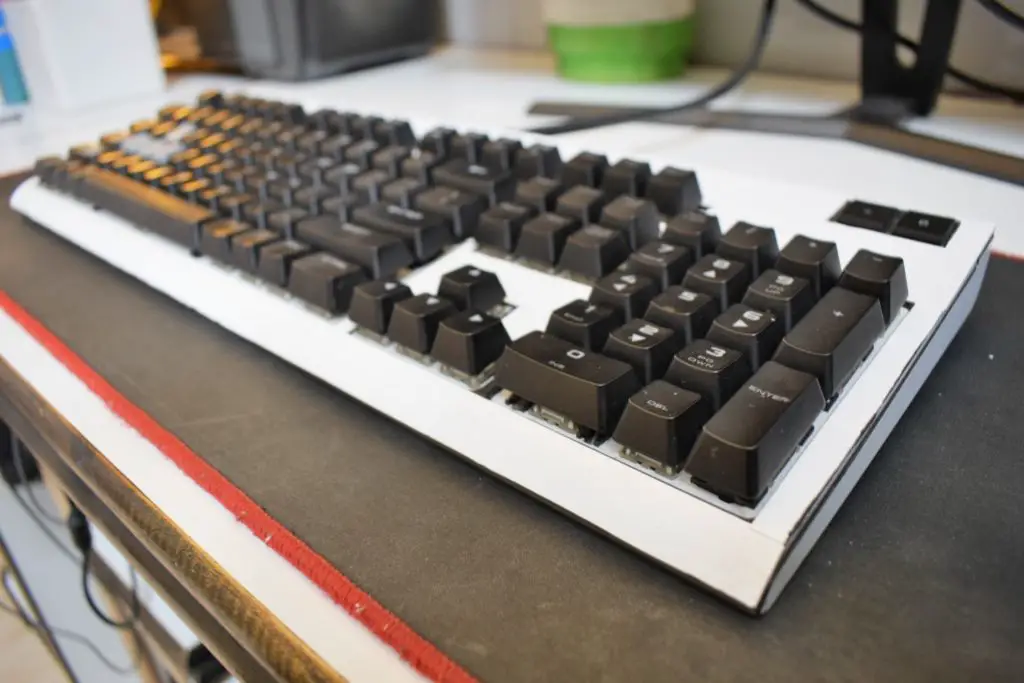
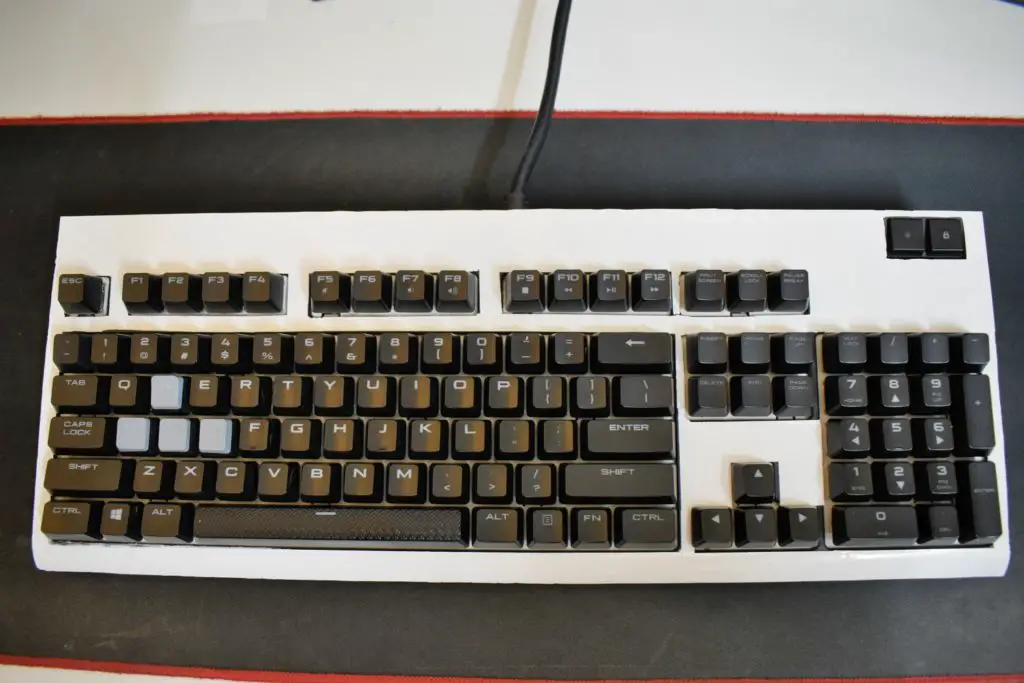
Now, your keyboard has been modded. Mine is not perfect but this is what I needed. You can use a different pattern or colored vinyl sheets or you can also use stickers to make your keyboard more attractive.
Two keys were misplaced mistakenly which I fixed later.
