Your graphics card is seeming to compete with the hot lava and you are worried as it may die soon?
Don’t panic! I have a small guide for you to cool your graphics card from top to bottom and avoid any type of overheating issues. You don’t have to worry even if you have never even touched your graphics card and are scared if something may go wrong. It’s not as difficult as it may sound but trust me, you will be able to fix your hot GPU in a couple of minutes and if you don’t, read to the last to ensure your graphics card never goes out of control.
Reasons For Overheating
Keep in mind that there is no single reason for overheating and it may be due to one or more reasons together that may result in a hot GPU. Some of the main causes of graphics card overheating are:-
- Insufficient airflow in chassis
- Inadequate fan cooling
- Dirty graphics card
- High voltage
- Dried-up thermal paste
We will take each cause step by step and fix it to eliminate any possible reason for overheating.
Allow Sufficient Airflow in Chassis
The easiest step to stop overheating is to provide your computer cabinet with a good amount of cooling. You can do it in several ways. Make sure you have a good amount of ventilation in your chassis from the front, the rear, and the top if possible. Some cases don’t come with any ventilation at the front which makes it harder for an adequate amount of cool air to come inside.
If your case has a front panel that doesn’t have any ventilation at all, then you should remove it to allow airflow and use a dust filter to avoid the dust. If you can’t have access to a dust filter, then it will be better to leave the front panel there to avoid the dust as it will result in overheating anyways if your PC hardware accumulates a lot of dust.
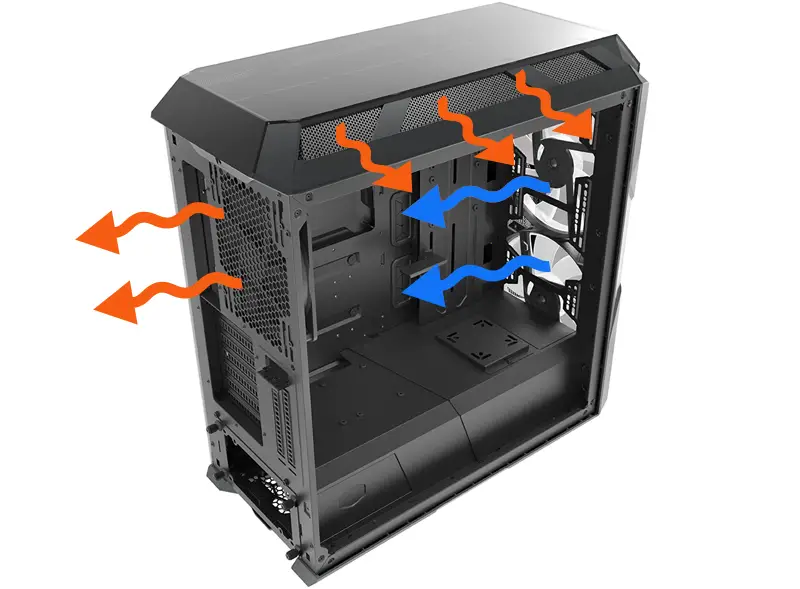
If your case can equip fans at the front, rear, and top; make sure you install at least one-one fan in each area, and better if you can install more than one fan at the front panel. This will make a lot of cool air come from the outside. The rear and the top fan will exhaust the hot air inside resulting in a temperature decrease for each and every component.
As the graphics card also emits heat and its hot air needs to be evacuated from the case, not providing your case with an exhaust fan will definitely result in GPU overheating.
Provide More Fan Cooling
If your graphics card is running hotter it might be due to the slow speed of your fan. The GPU fans run at a particular pre-adjusted speed according to the temperature and they may not be running at an appropriate speed to cool down the PCB. You can increase the fan speed using MSI Afterburner and can also set a custom fan curve to automatically let your GPU adjust its fan speed according to the temperatures.
This might fix your problem totally if the problem is not that serious and you should not forget to implement the previous step which is proper airflow management in the chassis.
Clean Off The Dirt
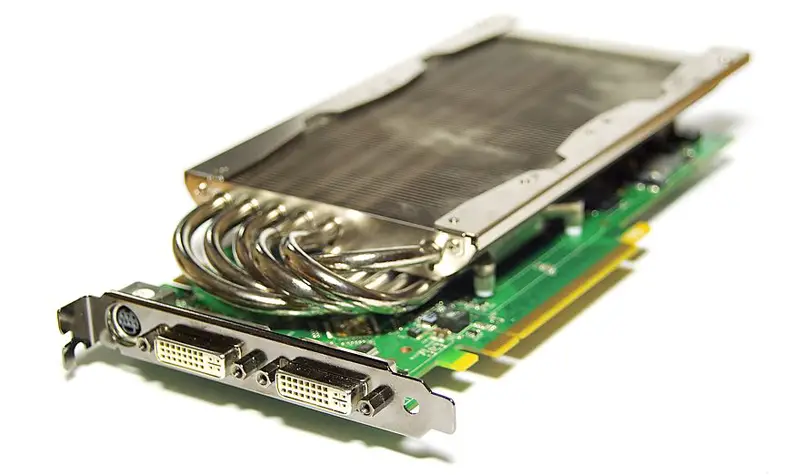
A dirty PC hardware will always overheat no matter how much good cooling solution you provide. When the dust enters between two contacting surfaces or in the heatsink, it decreases the dissipation of heat in the air and also results in the ineffectiveness of the fan. The amount of dust accumulation depends upon the place you live in. If your area has a lot of dust in the air, then you will need to clean your graphics card frequently. It’s recommended to clean it every 3-4 months and it’s best to use an air blower or compressed air first followed by some cleaning with a brush.
Decrease The Voltage
It’s rare but the voltage that is being supplied to your graphics card may be higher than normal. It can be due to various reasons and high voltages can easily overheat PC components in a couple of minutes if a proper cooling solution is not provided. It may also be possible that your graphics card although getting proper voltage supply as it should be but it’s not able to cool itself at full load.
Use MSI Afterburner to reduce the voltage gradually until you find the stable voltage where you don’t face any overheating anymore. You should always try stress testing for at least half an hour and here is our GPU stress testing guide for making the process easy. You can also benchmark your graphics card using these GPU-benchmarking software as they are also as good as any graphically intensive game.
Re-Apply Thermal Paste
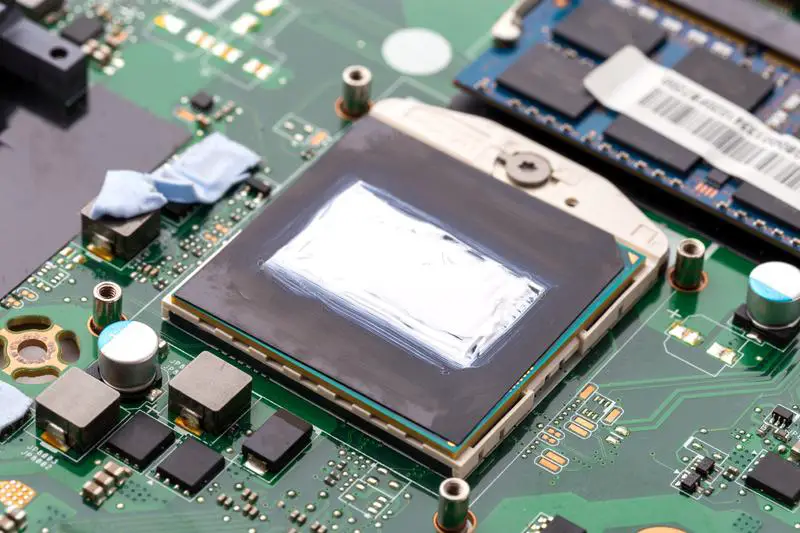
It is also possible that everything is just fine except for one thing which you can’t see directly. If you have been gaming for several years and are encountering the overheating problem recently, it might be due to the dried thermal paste on your GPU chip. You will have to disassemble your graphics card to access the GPU chip. It will be like the main processor on your motherboard and requires thermal paste to make full contact with the heatsink for cooling.
You should first remove the old paste using Isopropyl Alcohol from both the chip and heatsink base and apply the new one. You should use Arctic MX 4 or Cooler Master high-performance thermal paste for best performance. Use thermal paste a little more than the size of a pea and place the heatsink back on it carefully with the correct alignment.
Do not forget to plug the fan cable and all the screws like it was before.
Additional Tip- Change The Heatsink
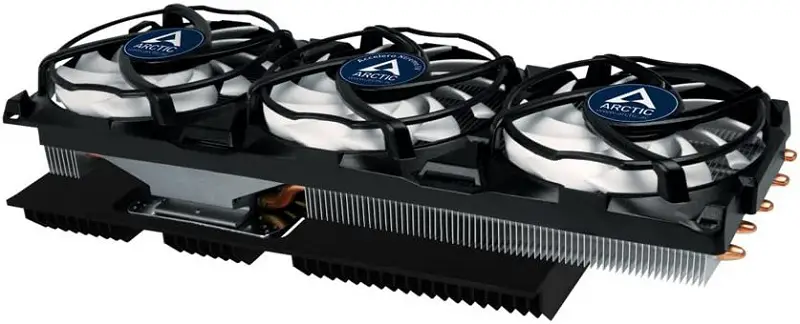
This is the last solution which I also recommend in fixing a loud graphics card. There are some great custom GPU heatsinks out there from NZXT, Arctic, and Corsair. You should check if your graphics card is compatible with the custom cooler you are going to use which is easy to know through the manufacturer’s website.
Related:- What graphics driver do I have?
Final Words
These are the 6 possible solutions for cooling your graphics card effectively but if the problem still persists then it’s time to change the graphics card. In case you still have any doubts regarding overheating of graphics card or related to any other computer hardware, then drop a comment in the comments section below!
