If you are looking for a Gaming PC that can absolutely destroy any game at 1080p or 1440p resolution, you will love our $1000 custom gaming build that can literally max out any game with no compromise. Unlike our budget builds, this $1000 Gaming PC uses components that are top-notch in specs and is ready for throwing any game on the ultra settings.
As we carefully select the components of our gaming builds, we also made a fantastic list for this $1000 build that is easier to put together and upgrade in the future. From guiding you to choosing the components to the path of upgradeability, you will find everything you need right here.
Is $1000 Good For A Gaming PC?
With $1000, there is no title in your library that can’t be run on our $100 Gaming PC. You will be able to get consistent 60+fps at 1440p resolution and much higher on 1080p. This machine is for hardcore gamers who want to get the best eye candy with buttery smooth gameplay. By choosing our recommended parts for your build, you will be able to upgrade your PC without spending a lot of money or the need to change another component needlessly.
In order to have a balanced configuration, it is necessary that you divide your $1000 in a way that the budget for each component is set to a fixed price range. This will stop you from going to extremes in each component category and hence, no bottlenecks. Here is a brief guide on how to choose and what to buy under $1000.
[wpsm_titlebox title=”Processor” style=”main”]The processor is the primary component of your PC that does the most operations. For our $1000 build, we are going to reserve at least $150-$200 for the CPU. This should get you at least a decent 6-core processor with hyperthreading. Going below 6 cores is not sensible at all and upgrading later will be harder.
[/wpsm_titlebox] [wpsm_titlebox title=”Motherboard” style=”main”]While the motherboard does not affect the gaming performance directly, it is best to choose a locked chipset motherboard if the processor is also locked and vice versa. We will reserve around $80-$130 for the motherboard that comes with sufficient slots, ports, and connectors for easy upgrade and connectivity.
[/wpsm_titlebox] [wpsm_titlebox title=”RAM” style=”main”]Almost every build that costs above $600 should have at least 16GB of RAM. Therefore, we are going with a 16GB kit that is at least clocked at 3000+MHz and installed in a dual channel for fast performance.
[/wpsm_titlebox] [wpsm_titlebox title=”Graphics Card” style=”main”]The most important component on which the most gaming load is dependent is the GPU. Setting a budget of $400-$500 for the GPU will be perfect for the $1000 gaming build with at least 6GB of VRAM. The choice of the brand and manufacturer will depend on the current pricing and performance.
[/wpsm_titlebox] [wpsm_titlebox title=”Storage Drive” style=”main”]To install your OS, apps, and a couple of big games, you will need at least 1TB of storage space. The storage can be upgraded anytime, therefore, it is not necessary to spend a lot of money on it. Also, we are going with an SSD as it is way faster than the traditional hard drive.
[/wpsm_titlebox] [wpsm_titlebox title=”Power Supply” style=”main”]Considering the parts we are choosing for this build, I believe that with 650 watts of PSU, you will be safer for the years to come. A reliable PSU is a must that provides you with protection features from faulty currents and voltages. It should also provide at least 80 Plus Bronze power efficiency and good voltage regulation.
[/wpsm_titlebox] [wpsm_titlebox title=”Case” style=”main”]To avoid compatibility issues, it is best to have a mid-tower case. It will be especially beneficial as you can install both Micro-ATX and ATX motherboards. An ATX mid-tower also gives you enough space to install tall CPU coolers and long GPUs.
[/wpsm_titlebox]Parts List For $1000 Gaming PC
Processor
[wpsm_offerbox button_link=”https://www.amazon.com/dp/B08166SLDF?tag=xtremegaminer-20″ button_text=”CHECK AMAZON PRICE” title=”AMD Ryzen 5 5600X” description=”Cores/Threads- 6/12Clock- 3.7/4.6GHz
TDP- 65W
Overclocking- Yes
” thumb=”https://m.media-amazon.com/images/I/61vGQNUEsGL._AC_SL1384_.jpg” ]
The current pricing and capability of the Ryzen 5600X make it an excellent choice for mid-range builds. This 6-core/12-thread CPU has been among the best gaming CPUs for a long time and to this date, it doesn’t disappoint. Not only it features an amazing Zen 3 architecture and decent clock speeds, it is also overclockable.
This opens more doors for experimenting especially if you want to squeeze every last drop of juice from it. The only CON you will have with it is not being able to upgrade to Ryzen 7000 platform as it uses an AM4 socket but regardless of that, you will still be able to upgrade in the future to something like a 5800X3D.
Right now, it will do the job perfectly whether it is gaming or productivity. We are going to combine it with a super good mid to high-end GPU to make 1440p gaming possible.
Graphics Card
[wpsm_offerbox button_link=”https://www.amazon.com/dp/B0B34M1YLW?tag=xtremegaminer-20″ button_text=”CHECK AMAZON PRICE” title=”XFX Speedster QICK319 Radeon RX 6750 XT CORE” description=”Architecture- RDNA 2Stream Processors- 2560
Clock- up to 2581MHz
VRAM- 12GB GDDR6
” thumb=”https://m.media-amazon.com/images/I/61+SRXEabGL._AC_SL1500_.jpg” ]
The Radeon RX 6750 XT has huge potential and is currently one of the best GPUs to combine with Ryzen 5600X. It replaces the RX 6700 XT and competes very well with Nvidia’s RTX 3070 which is right now at least $100 more expensive.
The biggest benefit the 6750 XT has over the 6700 XT is the memory clock speed. It has 12GB of VRAM clocked at 18Gbps on a 192-bit memory bus that brings a total of 432GB/s. It is roughly 5% faster than the 6700 XT but for the same price. It features 2560 Stream processors and a boost frequency of nearly 2600MHz which is impressive.
Combined with the Core i5 12400F, it can max out any game at 1080p as well as 1440p resolution giving you well over 60 fps on both resolutions.
RAM
[wpsm_offerbox button_link=”https://www.amazon.com/dp/B07RWDKZ2D?tag=xtremegaminer-20″ button_text=”CHECK AMAZON PRICE” title=”TeamGroup T-Force Delta RGB 16GB DDR4″ description=”RAM size- 16GB(2x 8GB)Type- DDR4
Clock- 3200MHz
CL Timings- 16-18-18-38
” thumb=”https://m.media-amazon.com/images/I/61qBMMBZU7L._AC_SL1500_.jpg” ]
To completely eliminate all the bottlenecks associated with the memory, 16GB RAM is perfect. As most games won’t use more than 8GB of RAM, you will have a lot of gigs left over to run other applications in the background without freezing your computer. To maximize the RAM performance, we are going to use T-Force Delta RGB 2x 8GB RAM modules in a dual channel that are clocked at 3200MHz with tight CL timings for lower latency. You can also check out our recommendations for best RAM for Ryzen 5600X.
Motherboard
[wpsm_offerbox button_link=”https://www.amazon.com/dp/B0BHCL4YVS?tag=xtremegaminer-20″ button_text=”CHECK AMAZON PRICE” title=”MSI B550 Gaming Gen3″ description=”Chipset- B550RAM support- 128GB, 4444MHz(OC)
Storage- 6x SATA, 2x M.2
PCI-E slots- 2x PCI-E x16, 4x PCI-E x1
” thumb=”https://m.media-amazon.com/images/I/91ViCwb81mL._AC_SL1500_.jpg” ]
Considering that we have an overclockable CPU and we also don’t have a lot of budget for a high-end motherboard, we are going with the MSI B550 Gaming Gen3 that will surely take care of all your needs including components support, cooling, overclocking, and connectivity.
It is not the best for 5600X but will surely allow overclocking through its decent 6-power phase VRM. I don’t advise going too hard to overclocking as it may result in crashes or instability but if you plan to upgrade to an aftermarket cooler, you can surely do better than now.
The board has several PCI slots for both expansion cards and GPU and has enough ports for adding multiple storage drives. My only concern is that it only has one M.2 slot which makes it difficult to add more M.2 SSDs but if you are going to use an NVME SSD for OS and some more games, then don’t worry, we are going to use a decent capacity SSD in this build.
Storage
[wpsm_offerbox button_link=”https://www.amazon.com/dp/B07ZGJVTZK?tag=xtremegaminer-20″ button_text=”CHECK AMAZON PRICE” title=”Silicon Power A60 1TB” description=”Brand- Silicon PowerCapacity- 1TB
Interface- M.2
Read/Write- 2200/1600MB/s
” thumb=”https://m.media-amazon.com/images/I/61lvL0XLcJL._AC_SL1200_.jpg” ]
To store sufficient apps and games, 1TB of storage space is good to go. I recommend an NVME SSD like the Silicon Power A60 which is cheaper than most 1TB NVME SSDs and runs several times faster than SATA SSDs. Its sequential read speed is over 2000MB/s which will load your OS and games quickly and as you progress by installing a lot of games, you can add another storage drive in the future in any of the M.2 or SATA ports.
Power Supply
[wpsm_offerbox button_link=”https://www.amazon.com/dp/B07N7V8JM5?tag=xtremegaminer-20″ button_text=”CHECK AMAZON PRICE” title=”Thermaltake ToughPower GF1 650W” description=”Wattage- 650WPower Efficiency- 80+ Gold
Type- Fully-Modular
Warranty- 10 years
” thumb=”https://m.media-amazon.com/images/I/61ue2tT5JeL._AC_SL1012_.jpg” ]
A reliable PSU is a must if you want to protect your components and want reliable continuous voltages to the components. The components need a stable voltage and the ToughPower GF1 650W is fit for this job. It provides tight voltage regulation with very low deviation and a super quiet operation you won’t notice.
With 650 watts of wattage, you can add several more storage drives, AIO coolers, or chassis fans without any problem and you can even upgrade to a higher-end GPU or motherboard without changing the PSU. The ToughPower GF1 650 comes with an 80 Plus Gold rating that reaches above 90% power efficiency on typical loads and the best part is that you get 10 years of warranty from the company.
Case
[wpsm_offerbox button_link=”https://www.amazon.com/dp/B0B6Y15C5L?tag=xtremegaminer-20″ button_text=”CHECK AMAZON PRICE” title=”NZXT H5 Flow” description=”Type- ATXDimensions- 464 x 227 x 446mm
Weight- 7Kg
Material- SGCC Steel, Tempered glass
” thumb=”https://m.media-amazon.com/images/I/71SIs5kxpYL._AC_SL1500_.jpg” ]
To put everything together in one place, the NZXT H5 Flow is one of the best mid-tower cases you can buy. It is a redesigned version of the H510 Flow edition but a little bit more compact. It has a fully ventilated front panel that will cool your system effectively by pulling cool air from the front continuously.
It is spacious, and elegant, and comes with a dedicated cable management space at the back for putting all those cables together. You can even use the PSU shroud at the bottom to hide those extra cables from sight and the result will be a neat build that you would want to stare at for hours. This case is available in White and Black color editions.

ORDER FROM AMAZON
AMAZON USA
AMAZON UK[wp-svg-icons icon=”checkmark-circle” wrap=”i” color=”green”] 1440P ULTRA SETTINGS
[wp-svg-icons icon=”checkmark-circle” wrap=”i” color=”green”] RAY TRACING CAPABLE
[wp-svg-icons icon=”checkmark-circle” wrap=”i” color=”green”] ADEQUATE RAM, PSU & STORAGE
[wp-svg-icons icon=”checkmark-circle” wrap=”i” color=”green”] HIGH AIRFLOW CHASSIS
Links to Amazon UK and Amazon CA may contain different components depending on the availability and pricing. Most of the time these components will be RAM and Power Supply. Please review the components on Amazon before purchasing.
[/wpsm_titlebox]Is The $1000 Gaming PC Upgradable?
The best part of building a gaming PC by yourself is that you can upgrade it yourself. You can easily upgrade this $1000 build by changing any component at any time. However, upgrades should only be done with a careful inspection of the configuration to maintain balance. As this PC uses top-notch components, you won’t feel the need to upgrade it anytime soon but if you still want to do it, you can do so by upgrading one or more components at a time.
The first upgrade I would like to suggest is to add another 1TB or 2TB of storage drive for storing more files. The next upgrade can be your CPU which can replace with either a Ryzen 5900X or a 5800X3D if you are strictly going for higher gaming performance. Those CPUs have more core/thread count than the 5600X and can push any high-end GPU to 100% usage.
Other components such as RAM, PSU, and Case won’t require any upgrades except if you need more RAM for productivity, more wattage PSU for higher-end GPUs, or a bigger and better case for liquid cooling.
As for the motherboard, if you feel like the current one is not able to handle strong overclocking, it’s better to go with a $200+ B550 motherboard as these B550 boards are generally cheaper than the X570 ones for almost the same features but if you care about the components support, then an X570 will also do the job well.
Lastly, whether you are planning to use a better motherboard or a CPU, I would suggest using an aftermarket CPU cooler if you care about temperatures and overclocking. You can check out the best CPU coolers for Ryzen 5600X we generally recommend to our readers.
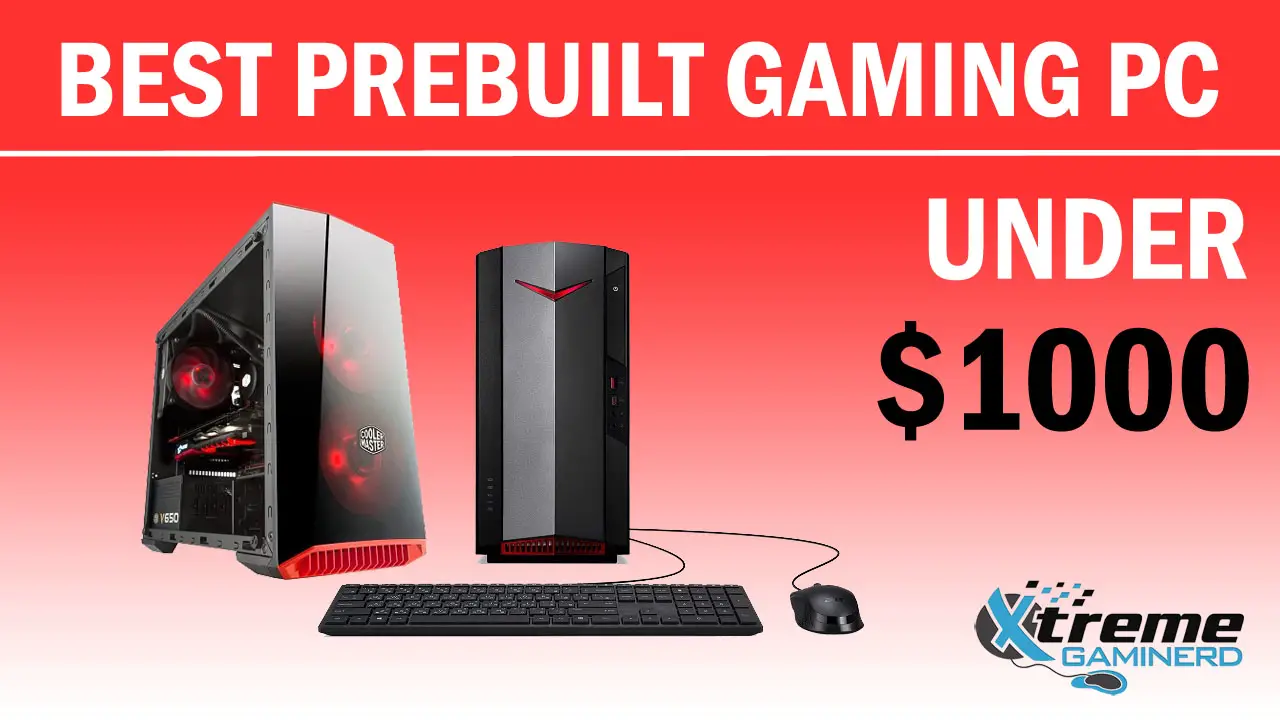
Best PreBuilt PCs Under $1000
While we always advise you to build your gaming PC on your own, we know that not everyone has the time or the skill to put the components together. Therefore, a PreBuilt Gaming PC will be better for you if you are looking to play video games right away without having to deal with the assembling process. Keep in mind that the value for money with a PreBuilt system can’t compete with the custom one and the path to upgradeability is not always easy.
We analyzed a lot of PreBuilts under $1000 and have selected a few that are fit for the purchase. We have a whole dedicated post for PreBuilt Gaming PCs under $1000. So, do check that if you want to save time.
[wpsm_top postid=”67797″]Final Words
If you need any help with building your gaming PC, you can contact us by using the comments section below. If you have any other queries related to choosing a component, compatibility, or troubleshooting feel free to let us know and we will try to sort out your problem in a day or two.
Related:
Will this run Overwatch on Ultra?
yes no doubt.
I’m having trouble finding the MSI Amd R9 390 8gb graphics card for this build. Are there any other graphics cards like this one (for about the same price) that would be compatible with every other part here?
You can search for asus, gigabyte or xfx.
After reviewing all of your builds, I decided to build my own 900$-1000$
i5 6600 Skylake
Gigabyte B150M-HD3
Sapphire NITRO R9 380 4GB 256bit
Hyper X 8GB 2400
Corsair RM650 80+ Gold
WD Blue 1TB
Thanks a lot! Cheers! 😉
Nice. You can get a R9 390 for this budget easily.
R9 390 here in PH is expensive!
I’m not a hard core gamer. What do you think of my build?
yeah it’s totally fine.
As mentioned in the article . Does Lock /Unlock of motherboard possible ? Gigabyte B150M-HD3 is Locked or Unlocked ? How do I know that ? If OEM locked then is it possible to unlock on our own ?