You might be curious about how powerful your graphics card is? And that’s really an interesting thing to know which helps you find out if your graphics card is really performing as it should be. As a graphics card is definitely the most important part of a Gaming PC, it should perform at its best so that you get the highest possible fps according to its capability.
What do you need to know?
Currently, there are dozens of great graphics cards that are bought on a day-to-day basis all around the world and many gamers face problems regarding their performance in gaming. You may or may not find a problem with your graphics card after building your PC but it’s better to check what performance others are getting who own the same GPU as you have. Definitely, different configurations will yield different results and even though you might use exactly the same components, your system will still show some variation in performance but that should not exceed a 5% error margin.
If you find out that the difference is more than that, it’s time to check your system by using some benchmark software. I have been benchmarking my graphics cards for more than 4 years and currently more and more new software are getting online that lets you test your GPU’s might. So, here I am listing the top GPU benchmarking software which I have personally used to benchmark my graphics cards and you should too use them to find out if your GPU is performing up to your expectation or not.
Unigine Heaven
Download Here
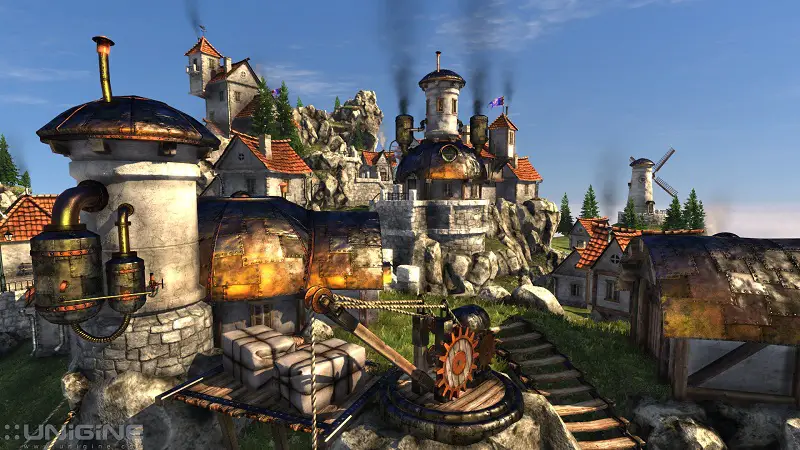
Heaven software was developed in 2009 by Unigine company which was established in 2005. Heaven is one of the oldest software for benchmarking GPU and is still going well to date. The Heaven software lets you benchmark your GPU at more than dozens of resolutions which include resolutions as small as 640 x 360 and as big as up to 4K. The program benchmarks your graphics card in 26 scenes which comprise areas where objects are at very short up to long distances.
There are graphical settings too that you can choose from. You can choose Quality from Low to Ultra, Tesselation from Disabled to Extreme, and Anti-Aliasing from Off to X8. The result will be shown in FPS which you can compare to the results other people have got using the same GPU.
Unigine Superposition
Download Here
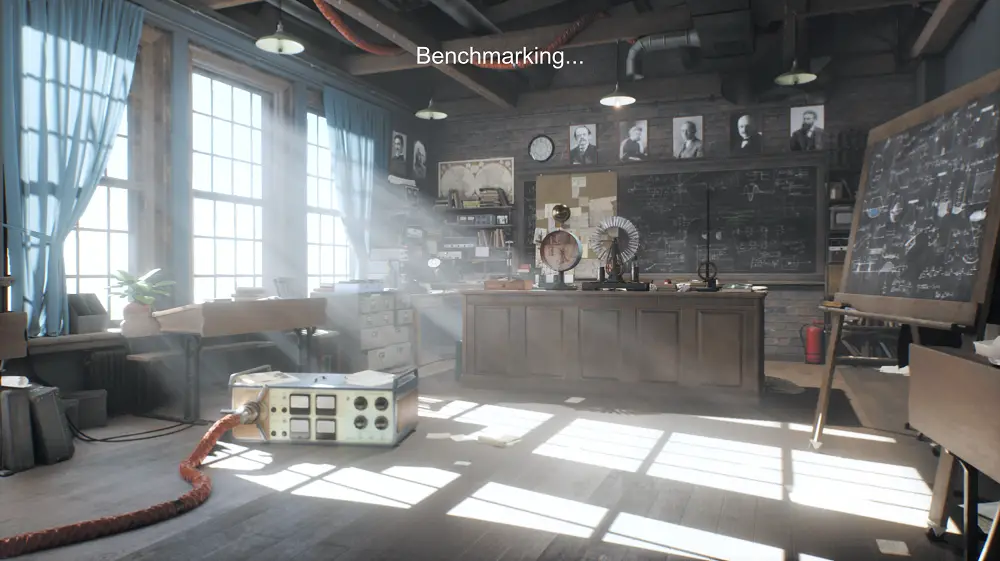
Unigine also released new software in 2017 for benchmarking your GPU which is Superposition and it is much more intensive than Heaven. Even a graphics card like GTX 1080 Ti which I use, struggles to stay above 40 fps at 1080p Extreme settings. The software has 3 modes which are Benchmark, Game, and Virtual Reality. After benchmarking, you can compare your results online with other users.
FurMark
Download Here
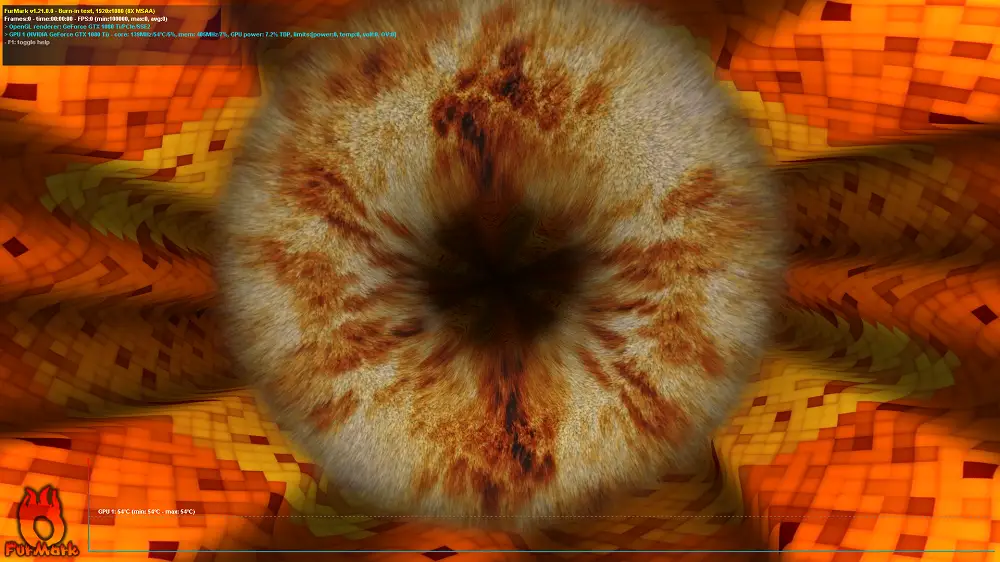
Furmark is one of the most if not the most intensive stress test tool for GPUs. I have been using this tool for 3 years for my GPUs. It allows you to choose a particular resolution and Anti-Aliasing for making full use of your GPU in the test.
After you start the test, a 3D animation shows up which stresses your graphics card like none another and quickly increases the temperatures. It allows you to know how long your graphics card can work on a particular clock speed with a particular fan speed. However, this test is much less intensive than real-world gaming and if your GPU doesn’t hit 80 Degrees C, then you are good to go for several hours in games.
Related- How To Stress Test Graphics Card
3DMark
Download Here
3DMark is the most popular tool for benchmarking your PC and mobile devices. This software has several different tools for different purposes so that you can test exactly for what you are looking for. 3DMark unlike the other software on this list is paid and has 4 different versions that are priced differently.
3DMark has Time Spy, Fire Strike, Sky Driver, and Night Raid in its basic version while the Advanced edition includes more than 10 tools that also include Stress tests. You can get this tool from Steam for $29.99 and use the FireStrike or Time Spy for GPU benchmarking.
PassMark Performance Test
Download Here
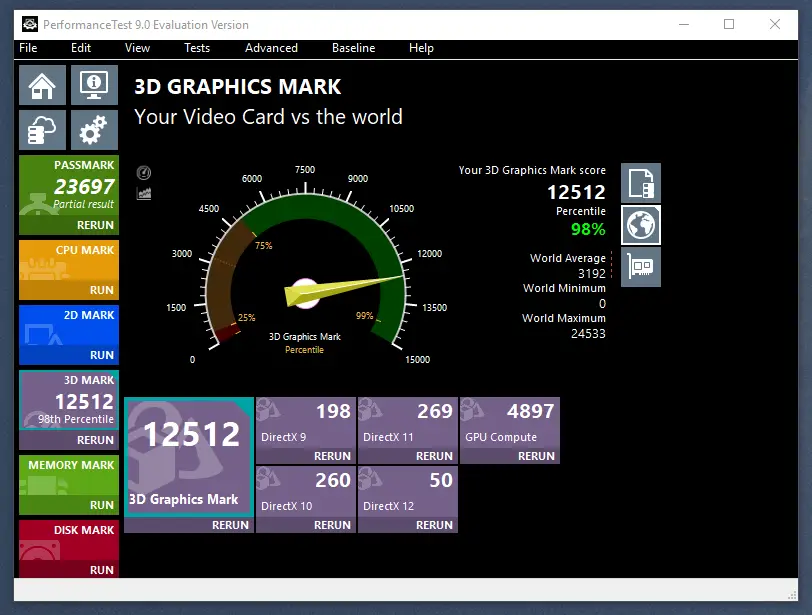
PassMark is another good tool that lets you benchmark your CPU, GPU, Memory, and hard drive. Though it’s not as great as the other software in this list are but it has several different types of graphical tests for your GPU that can be compared with others. It has a 2D and 3D test that measures your GPU score and will compare it with the overall results all around the globe. It’s a simple and non-stressful test that can be used even on a very low-budget Gaming PC.
UserBenchmark
Download Here
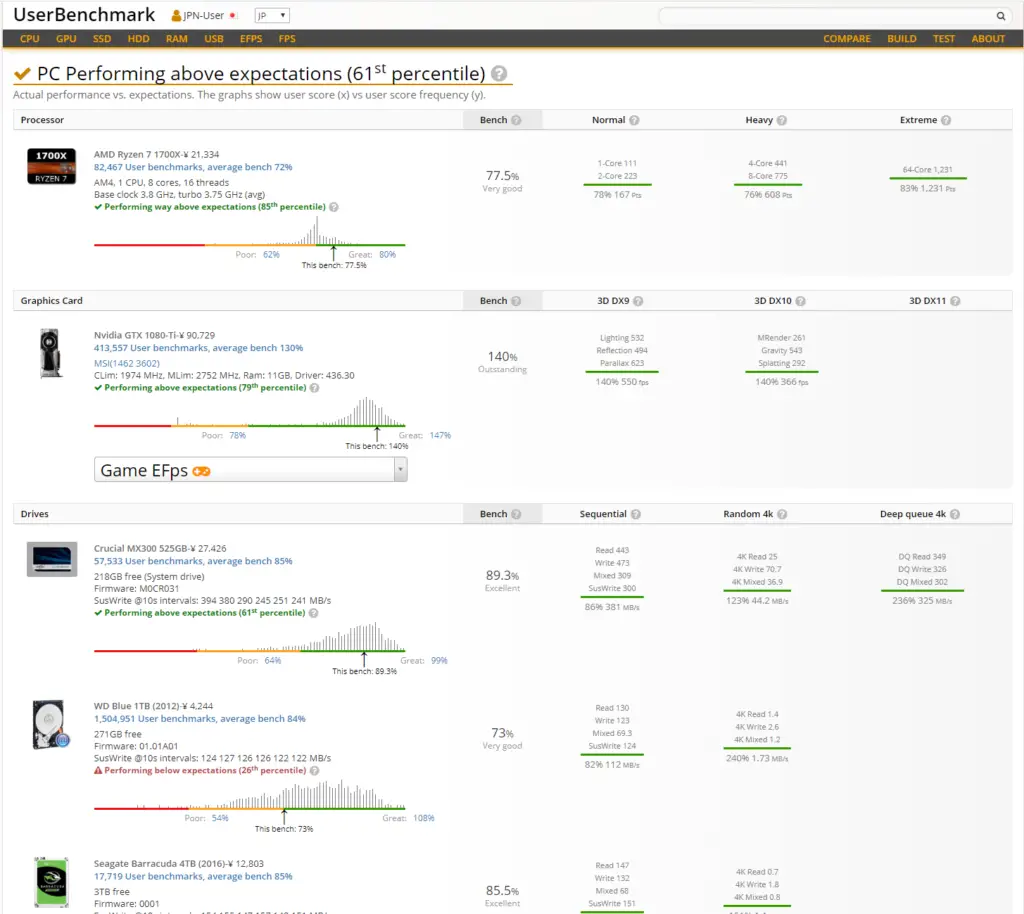
UserBenchmark is a free online tool that lets you test all of your components easily and compare them online with all the results throughout the world. The above screenshot is the result of my Gaming PC and how it performed comparatively with people having similar rigs. It’s a very simple and easy-to-use tool that is right now one of the most popular online benchmarking tools you can use.
Related- 15 Best Software To Install On A Newly Built PC
Cinebench R15
Download Here
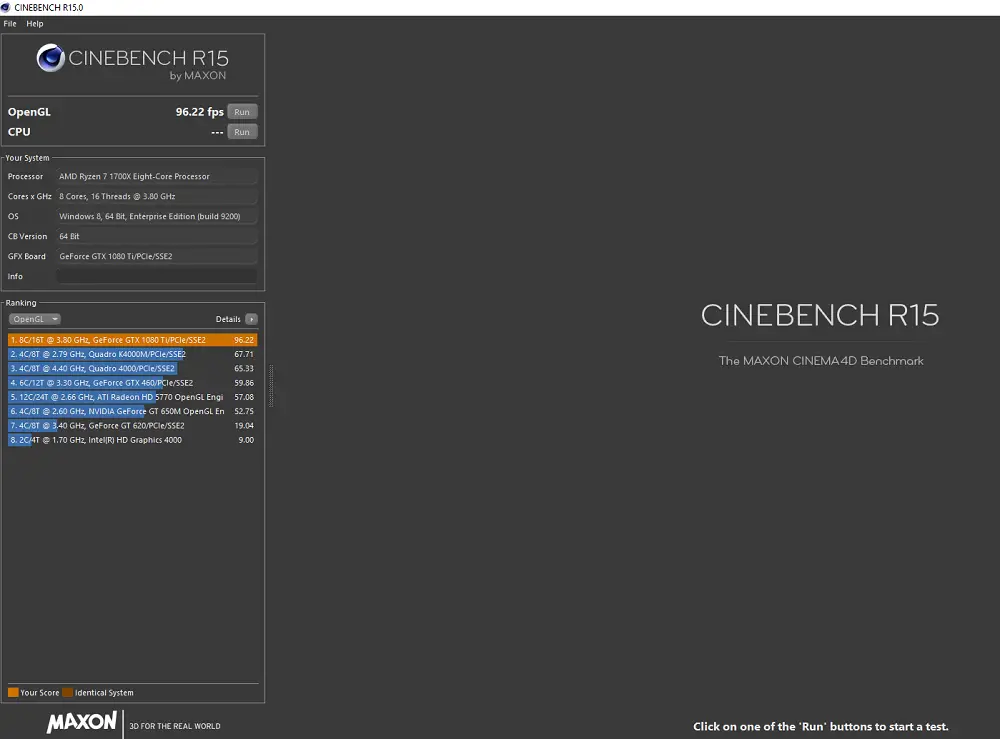
CineBench R15 is a popular CPU benchmarking tool which also allows you to benchmark your graphics card. The tool has OpenGL for the graphics card which runs a Maxon Cinema 4D benchmark which gives you an fps number after the full test. The test doesn’t take more than a minute and then you can compare your result with already displayed sample tests with different configurations. Here I was using GTX 1080 Ti with Ryzen 1700X and I got 96.22 fps.
Try Overclocking and Benchmark
After benchmarking your GPU with stock clock speeds, try overclocking your GPU as much as you can to see how much performance gains you will get. You can use MSI Afterburner which allows you to tweak the core clock, memory clock, voltage as well as fan speed. Make sure your GPU has a good cooling solution for strong overclocking because most of the graphics cards which are equipped with a basic cooling heatsink can’t maintain proper temperatures on advanced overclocking.
Be On The Safe Side
Although you are now trying advanced overclocking, it’s still recommended to be on the safer side by not increasing the voltage to the extreme. It will be even better if you just stop increasing the voltage and the core clocks if you see your GPU temperature rising above 80 degrees Celcius. You should also check out some online tutorials on how to safely overclock your graphics card so that you don’t damage your GPU permanently.
Stress Test Is Important
If you are getting good scores by overclocking, it’s better to run a stress test for at least half an hour before going in-Game. If your graphics card can survive half an hour without exceeding 80 degrees Celcius on software like FurMark, then you are good to go for long hours of gaming. If your GPU crashes in between the Stress tests, then you should lower the voltage or clock speeds to check again which is the stable point.
Not Getting The Outcome?
There are still some chances that you don’t get the desired outcomes after benchmarking. The possibilities are many. Maybe your CPU is bottlenecking or your GPU is throttling due to high temperatures. Make sure your graphics card is clean and the dust or insufficient airflow isn’t the cause for low performance.

