Asus motherboards with Q-LED indicators can show the users if they have any problem with their hardware.
These are generally indicated through a continuous White LED light, Orange LED light, or Green LED light. If one of these lights turns on then continuously, you possibly may have a problem with a component and this stops your computer to boot.
The good thing is that each of these LED lights can be fixed through a series of easy-to-follow steps and the only thing you need to do is to reach the root cause of the problem.
Types Of Q-LED Indicators On Asus Motherboards
Asus Motherboards with Q-LED indicators contain 4 individual LEDs. These are mostly present on the right edge of an Asus motherboard and indicate problems caused by different components of a computer.
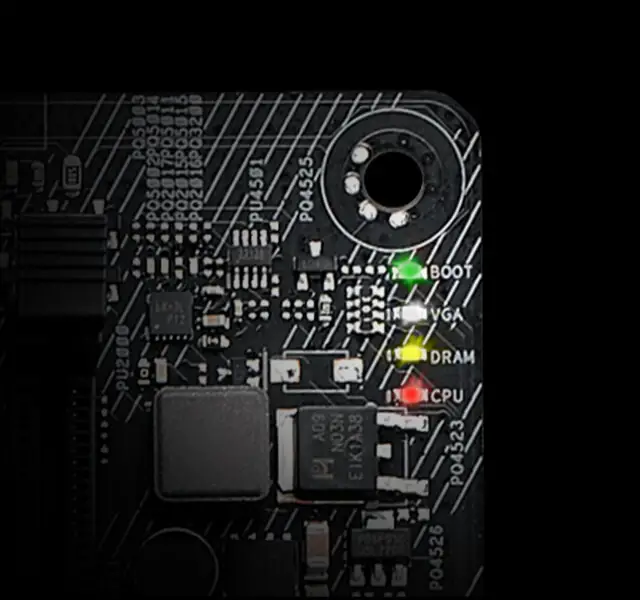
The Q-LEDs on an Asus motherboard are as follows-
- BOOT– Green LED
- VGA– White LED
- DRAM– Orange/Yellow LED
- CPU– Red LED
Each LED is associated with different components of a computer where BOOT LED is related to storage drives, VGA to the graphics card, DRAM to RAM/Memory, and CPU to CPU/Processor.
Whenever your system fails to detect or establish a proper connection with any of the mentioned components, the associated LED with turn on. These LEDs turn on continuously if there is a hardware failure until the problem is sorted out and don’t let the computer boot into your OS or even BIOS.
Asus motherboards generally cycle through each of these LEDs one by one after switching on a computer. Each LED automatically turns off and your computer boots if there is no anomaly detected.
Reasons For Asus Motherboard White LED Light
A continuous VGA White LED light on an Asus motherboard indicates GPU connection failure and can be due to several reasons. It does not necessarily mean that your graphics card or iGPU is faulty every time you see the White LED. However, the problem is definitely associated with your GPU.
One of the reasons can be improper seating of your GPU that doesn’t allow proper contact with the PCI-E x16 slot or it can be due to an improper connection between your monitor and the GPU.
Until every connection is established properly, your motherboard will keep showing a continuous White LED and this won’t allow your monitor to show any display signal.
How To Fix Asus Motherboard White LED Light?
There are a couple of fixes you must try before changing your graphics card. Make sure you follow each step one by one to find the real culprit for this problem.
Restart Computer And Monitor
Restarting the computer and your monitor can sort out this problem but this won’t work unless done properly.
Simply turning off and on your computer and monitor after a few seconds may not give your devices enough time to reset. You must make sure that your devices are fully discharged before turning them on.
Turn off your monitor and computer for at least 5 minutes to fully discharge them. Turn on the devices and check if the problem still persists.
Reconnect All The Cables
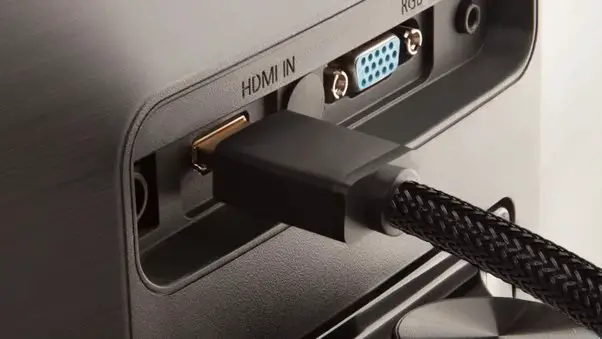
If restarting the devices didn’t fix the problem, reconnecting the cables can.
However, you have to turn off the computer and monitor before unplugging the cables from your devices.
After turning it off, unplug each cable whether it is your DisplayPort/HDMI cable or any other peripheral cable from your computer and monitor. Also, don’t forget to unplug the power cord from your power supply.
Then connect all the cables after a few minutes by plugging in only the essentials first. It is recommended that you only plug your display cable and the power cable into your monitor and computer before connecting your peripherals. This will help you narrow down the root cause of the problem.
Reinstall The Graphics Card
Sometimes a poor connection between the graphics card and motherboard can also cause this issue. Simply reinstalling a GPU can also solve this problem.
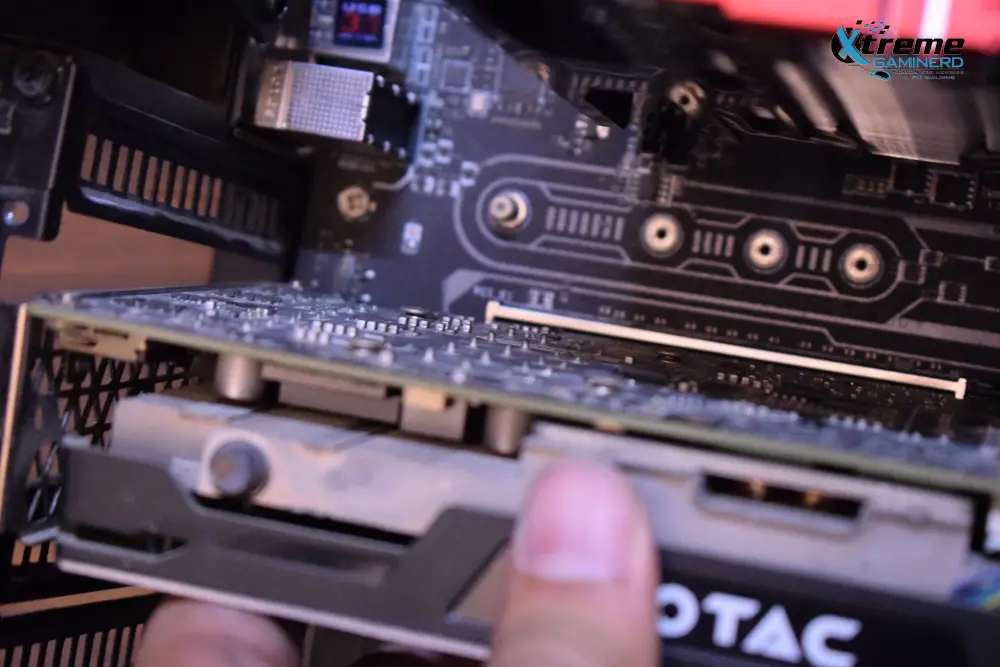
-> Turn off your computer and take out your case side panel to access the hardware.
-> Remove the PCI-E connectors from your graphics card -> remove the screws on the expansion slots and carefully remove the graphics card by pushing down the PCI-E x16 slot button.
-> Clean off all the dust from your graphics card pins and PCI-E x16 slot with a soft cloth or air blower. Reseat the GPU again till the PCI-E slot button snaps back into place. You can follow our guide on installing a GPU if you are doing this for the first time.
Now connect the PCI-E connectors to the GPU and connect the monitor and GPU with the display cable.
Turn on your monitor and computer to check if you get a display signal on the monitor.
Change The Display Outputs
If your graphics card and monitor have multiple display outputs like DisplayPort, HDMI, DVI, or VGA, try switching your cable or the display outputs on both your monitor and GPU.
Sometimes a bad display cable or a bad display output can also cause the white LED issue. Most of the time the culprit is DisplayPort. So, check the display using an HDMI or DVI cable, and do read our guide if your DisplayPort is not working but HDMI is.
Check With iGPU
In case, none of the steps worked, give it a try by checking with your integrated graphics.
Most processors come with an iGPU and all you have to do is remove your GPU from your computer and plug the display cable into one of the display connectors of your motherboard.

If your processor doesn’t have integrated graphics, you will need a different discrete GPU. Almost any GPU will work but it must have a PCI-E x16 interface to connect to your motherboard.
Final Words
VGA White LED light issue is easy to sort out if you can reach the root cause of the problem with the steps listed above. However, if nothing worked out, then it is possible that your GPU is faulty especially if you get a display signal with your iGPU.
I also recommend using another monitor to verify if your current monitor is working properly or not. Sometimes, the VGA light turns on if the monitor turns on after your computer.
[poll id=”4″]