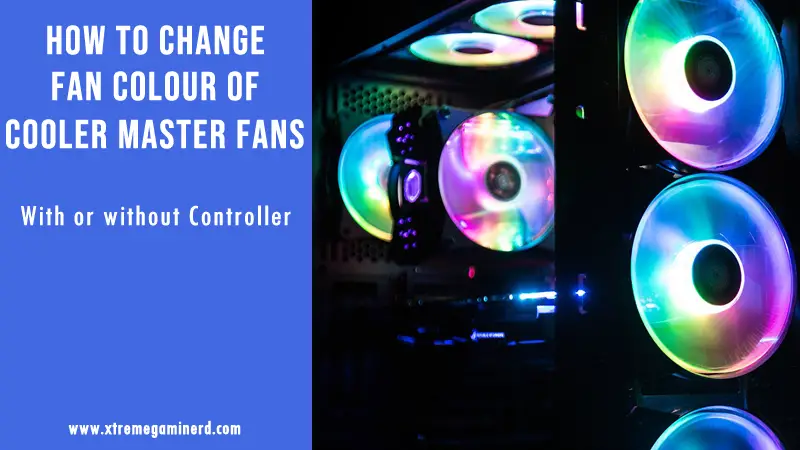
To change the colour of a Cooler Master Fan, there are basically just three methods but thankfully both are easy to execute. Cooler Master produces RGB as well as ARGB fans where both the types have some differences with regards to how you can control them.
Cooler Master also provides two different types of Controllers for controlling and changing the colours of an RGB fan/ARGB fan but in case you don’t have a controller, there is still one way you can change your fan’s colour. What you need and how to use them are explained as follows where you quickly change your fan’s colour in a couple of minutes.
If you don’t have a Controller
The first method is when you don’t have any Cooler Master controller for RGB fans. This requires you to have a motherboard that has either an RGB or ARGB header.
So, first, check your fan connector to confirm if it is an RGB or ARGB. The RGB fan connector has 4-pin holes. It operates at 12V while an ARGB fan connector has 3 pin holes with an absent hole at the third point. Take a look at the image below-
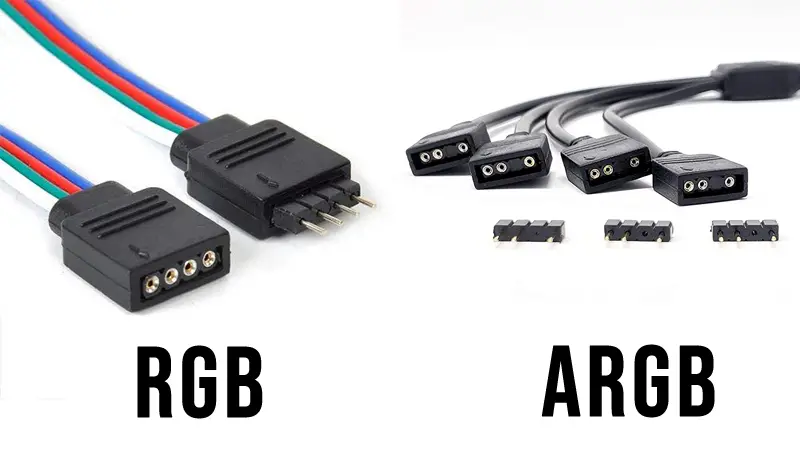
If you have an ARGB fan, then it will be easy for you to change the colour of your Cooler Master fan through software otherwise, the RGB fans will only be able to change their colours by connecting them to a Cooler Master RGB controller.
After connecting them, install your motherboard RGB software. MSI, Gigabyte, Asus, ASRock etc. all have their own RGB software for changing colour effects on ARGB devices. It’s always best to use your own motherboard’s RGB software than a different one.
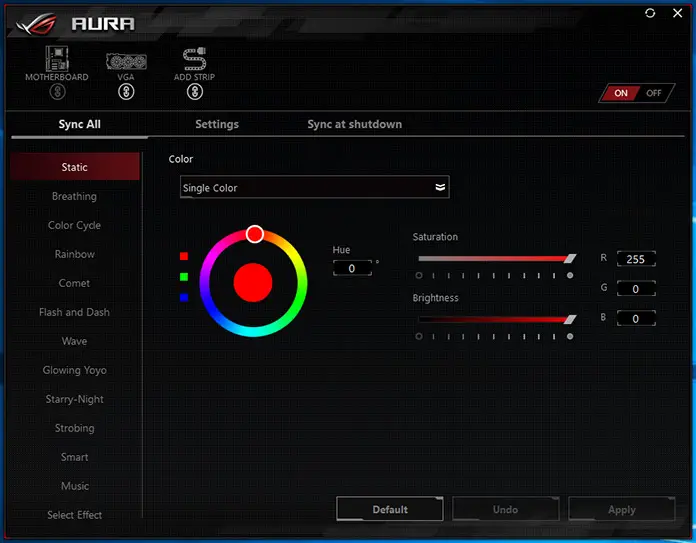
These softwares allow you to select your peripheral or fans/coolers and change their LED colours or modes easily from the interface. You can either select a simple one colour mode or you can choose multiple colours for different modes like Breathing, Colour Cycle, Rainbow etc. Moreover, you can also control the brightness of your fan LEDs.
For multiple fans
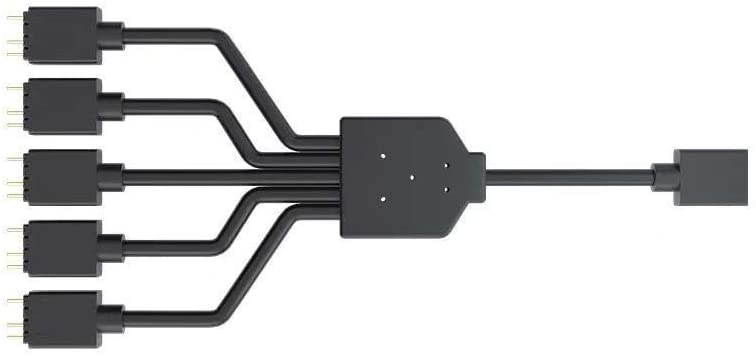
If you want to connect multiple fans to your motherboard’s ARGB header, then you will need to have a fan splitter cable that can power multiple fans from a single motherboard ARGB header. Fortunately, Cooler Master has its own fan splitter for up to 5 ARGB fans that supports the Masterfans and MasterLiquid coolers.
With RGB Controller
Cooler Master has both RGB as well as ARGB controllers for RGB/ARGB fans respectively. While ARGB fans have the ability to be customized a lot due to addressable LEDs, RGB fans, on the other hand, provide limited effects and modes.
Related- Corsair fans not lighting up
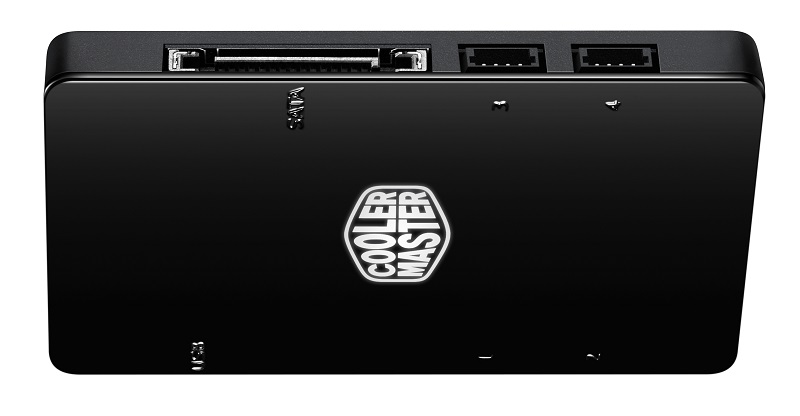
In case you have an RGB controller like the above, all you need to do is connect your fans through the controller and power up your controller using a SATA power cable. This controller allows you to connect up to 4 RGB fans at a time and you can create different effects for each fan separately or you can sync them together from the MasterFan+ Plus software.
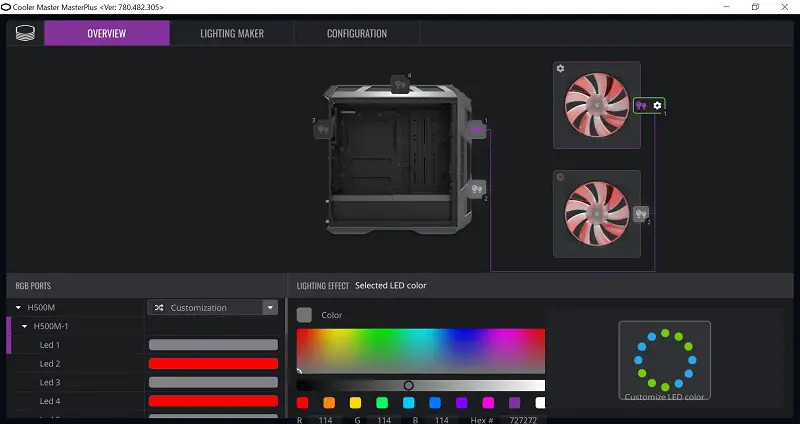
Make sure you also check if your fan or other Cooler Master Devices are also compatible with this software. You can download the MasterPlus+ from this Link.
With A-RGB Controllers
The addressable RGB controller is a step up from the standard RGB controller and provides a lot more customization to your fans and other ARGB devices. If you have an ARGB controller from Cooler Master, then all you need to do is connect the fans to your controller through the splitter given with the controller and power up it up through a SATA cable.
We currently have 3 different types of ARGB controllers from Cooler Master. Each of these looks a little different and come up with some different types of cables to ease the connection process. Some controllers can allow you to control your fans through the buttons on the controller itself but you can always use the MasterFan+ software for advanced customization and saving your profiles.
Related- 5 ways to fix PC fans not spinning
Controller ARGB
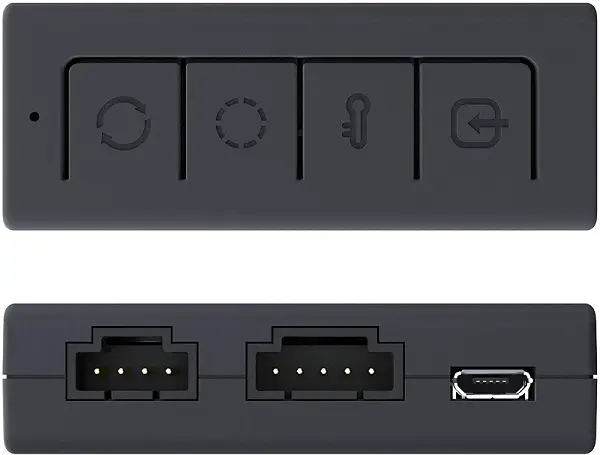
The above controller is the second smallest Cooler Master ARGB controller and provides you with buttons to control your fans on the go. It comes with an ARGB fan splitter cable for up to 4 ARGB fans and a 5-pin to SATA power cable to power it through your power supply.
It also comes with a Mini-USB to USB Type-A cable to allow better compatibility with other ARGB software but you will need a USB to USB 2.0 header cable if you can’t connect it with the I/O ports of your motherboard.
In case you want to put this outside your chassis, you can easily connect the USB cable to the back of your motherboard and change your fan modes through the buttons.
This is currently the cheapest Cooler Master ARGB device that is available for only $22.
Mini Addressable RGB LED Controller
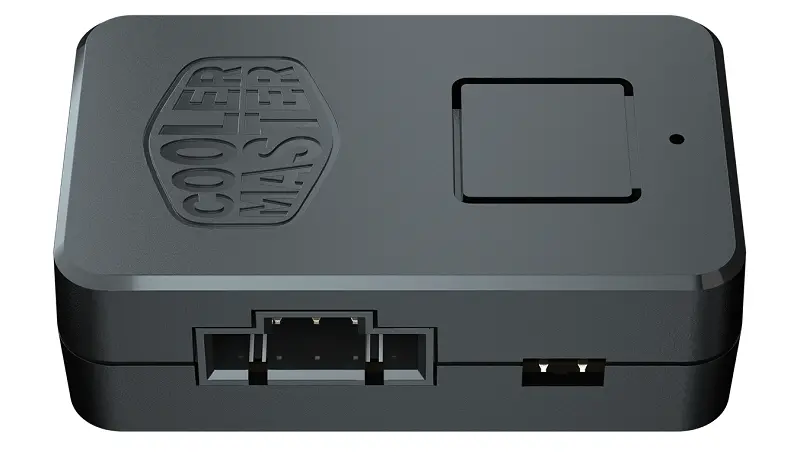
This is the smallest ARGB controller from Cooler Master and has the most basic function of all. Basically, it is connected to the Reset button of your Chassis if you want to change the function of the Reset button to change the Light modes of your case fans.
It is powered by a SATA cable and has a two-pin Reset button connector that will connect it to the front panel Reset button. You can easily stick this device anywhere inside your case through the built-in magnet. However, if you prefer to use it outside of your case to allow your system’s Reset button to work for restarting your PC as usual, you can do so and use the controller button instead.
Addressable Gen 2 RGB LED Controller A1
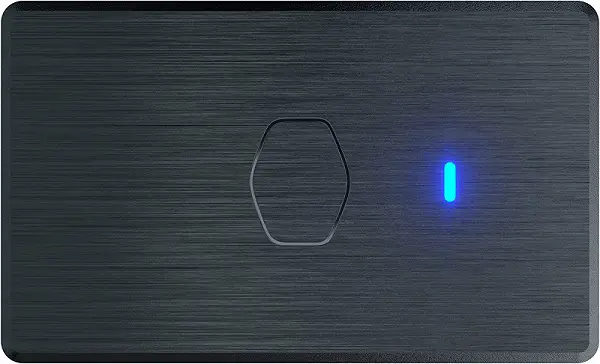
The most recent and the easiest to set up is ARGB A1 controller which enables more RGB effects for coolers and features three ARGB connectors. These can control up to 240 ARGB LEDs together and with the help of splitter cables, you can add more fans to it.
It is compatible with both Gen 2 ARGB and standard ARGB devices giving you more control over ARGB Cooler Master fans and coolers.
Wrapping up
With multiple ways to control the Cooler Master RGB fans, you might get easily confused at first but once you understand how RGB devices work with or without the controllers as explained above, it will be easy for you to do a lot with your fans and coolers.
Let me know in the comments below if you have any doubts or queries.


