Installing a CPU cooler is a more time-consuming task, however, removing the cooler or just the CPU fan can be a matter of a couple of minutes. But every type of uninstallation depends on the type of cooler and case you are using.
Some Cooler Master coolers are small while some can be very big which will make it difficult for you to not only install them but also make it very difficult to remove the fan or the entire heatsink. So, this small guide will take you to different approaches on how you can take out the CPU fan from the cooler in the easiest ways.
For Small to Medium-Sized Coolers
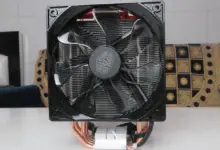
If you own a mini-ITX cooler like the Cooler Master Gemini or a mid-sized cooler like Hyper 212, then this method will apply to both.
Essentially what is required is that your case has enough space for you to insert your hands in the case so you can access different sides of your cooler. Yes, the top and the left side are always not accessible.
Step 1– Remove the side panel of your case and lay down your case to access your CPU cooler.
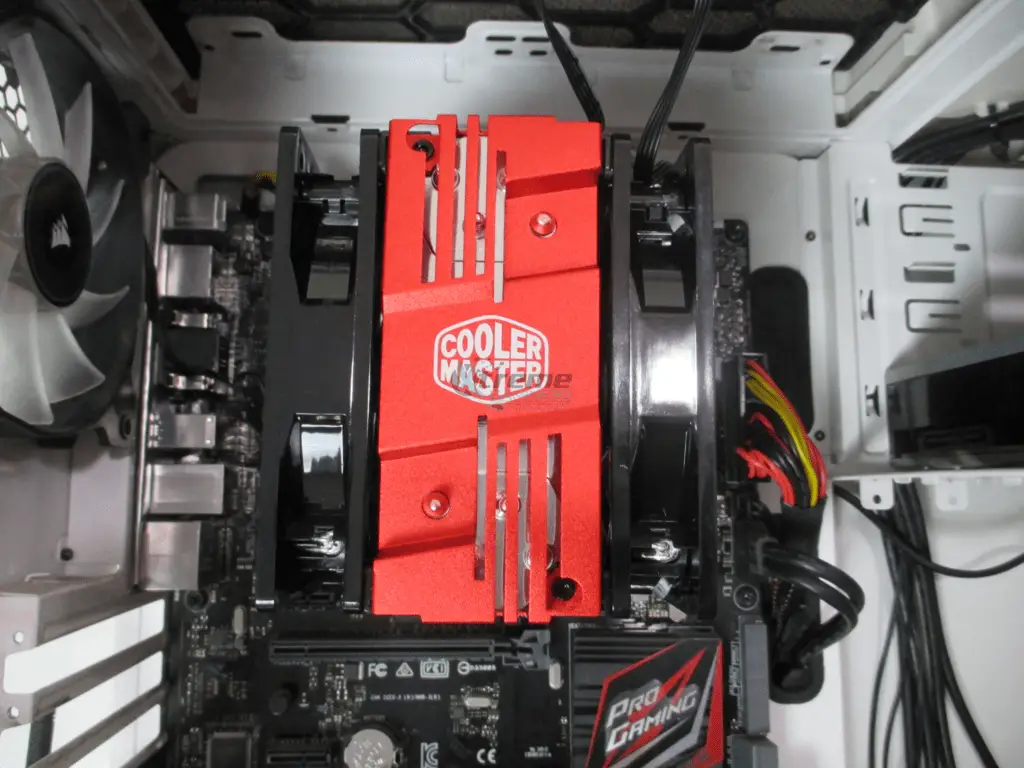
Step 2– Now disconnect the CPU fan cables from your motherboard. If you have installed more than one fan through a splitter, then disconnect the cables.
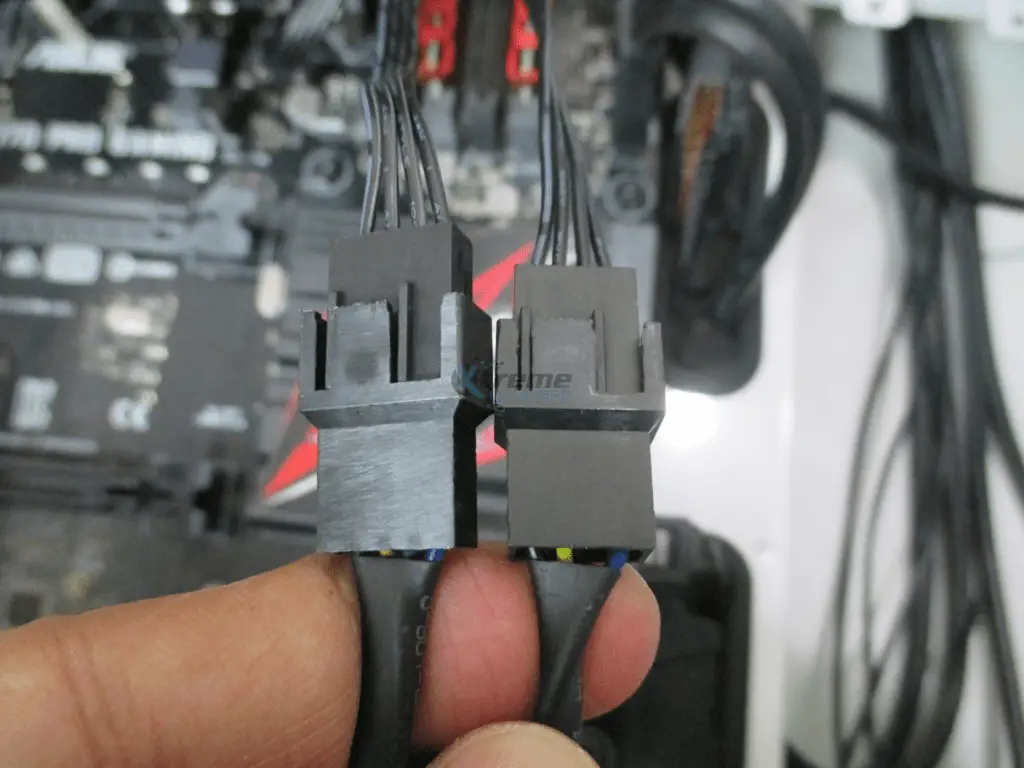
Step 3– As you can see from the image below the cooler fans have some plastic latches that grab onto the heatsink. These plastic latches are a little flexible and therefore, won’t break if you pull them with some force.
Your fan will have this latch on four sides and the best way to easily remove the fan is to pull the latches from one side first. The other latches will be easier to disconnect from the heatsink on the other side
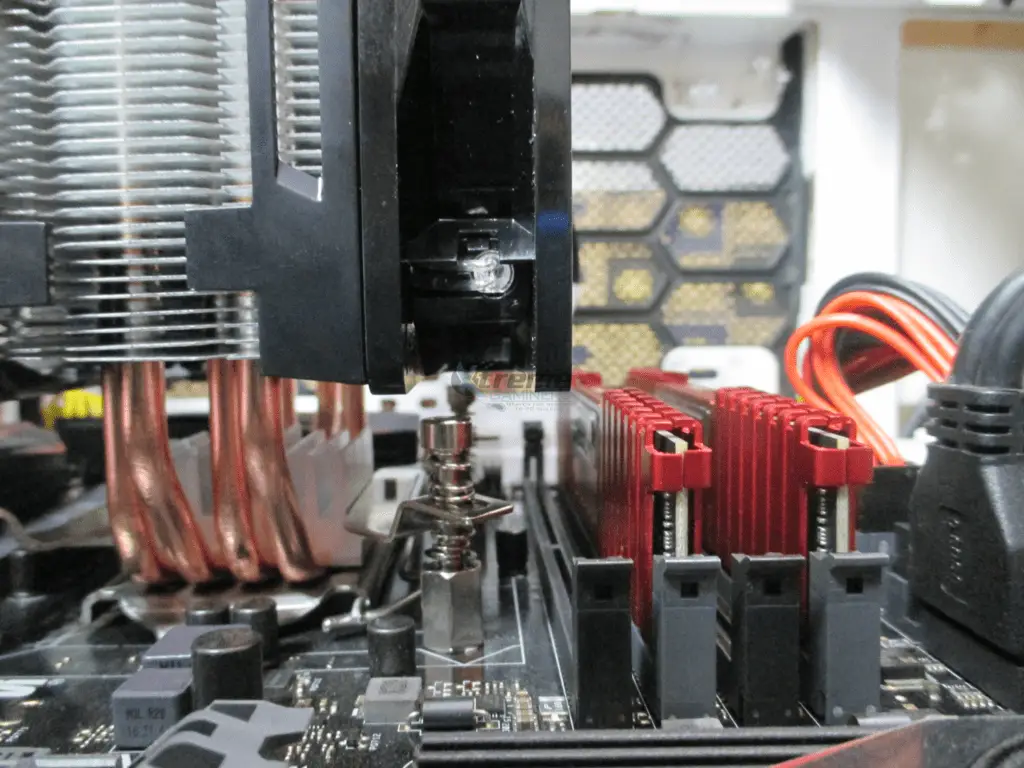
Result– Here is how your CPU cooler will look without any fan. You can install the fans by reversing the method.
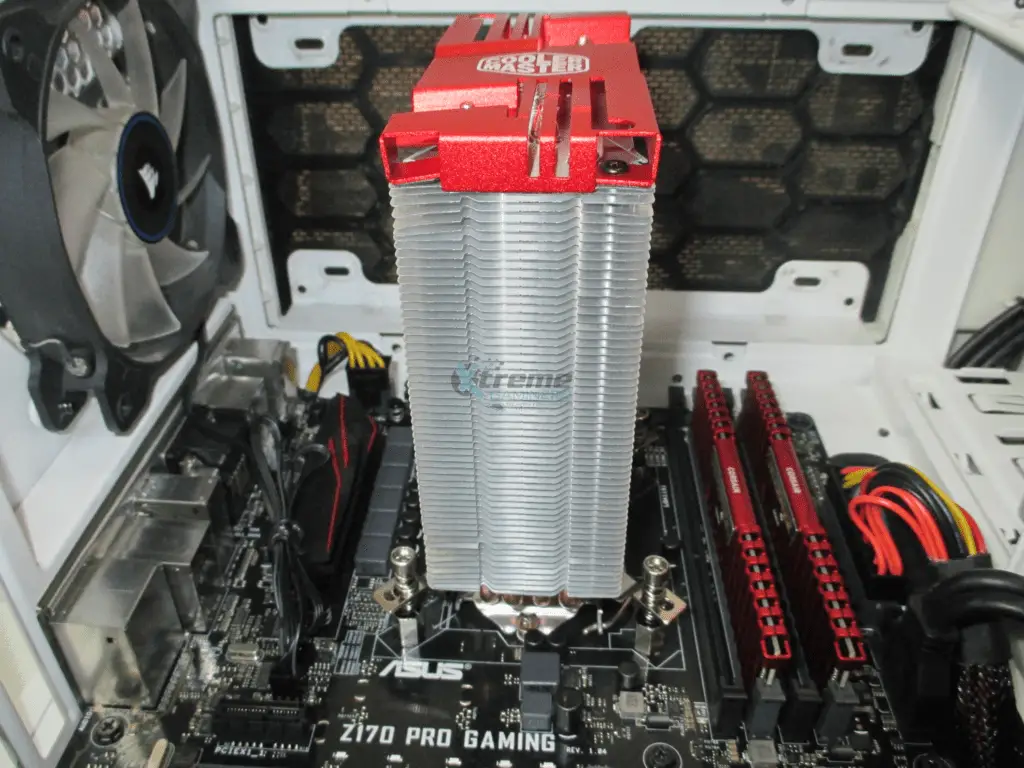
For Large Coolers
Some coolers like MasterAir MA620M or the MA624 Stealth require you to do some more work compared to medium-sized CPU coolers.
These coolers generally have a cover on the top secured with screws. You cannot access the fans between the heatsink if you don’t remove them. So, you need to remove the screws with a “2” number screwdriver before you can see how the fans are attached to the heatsink.
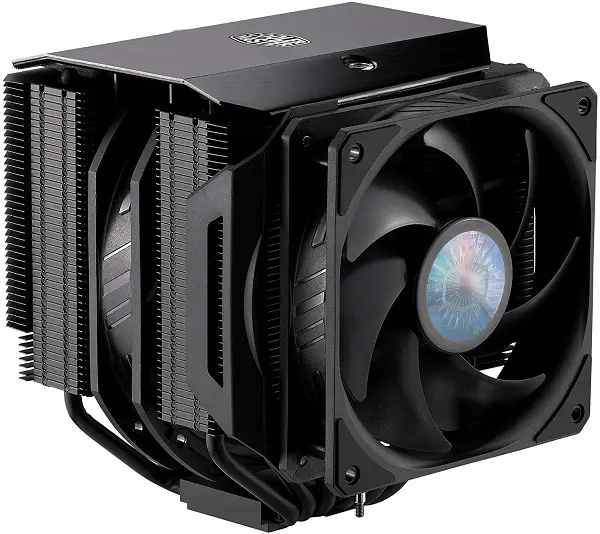
Even then, you might need to remove your CPU cooler completely from the motherboard by the 4 screws that secure your cooler to the socket. This will allow you to remove your CPU fan easily.
